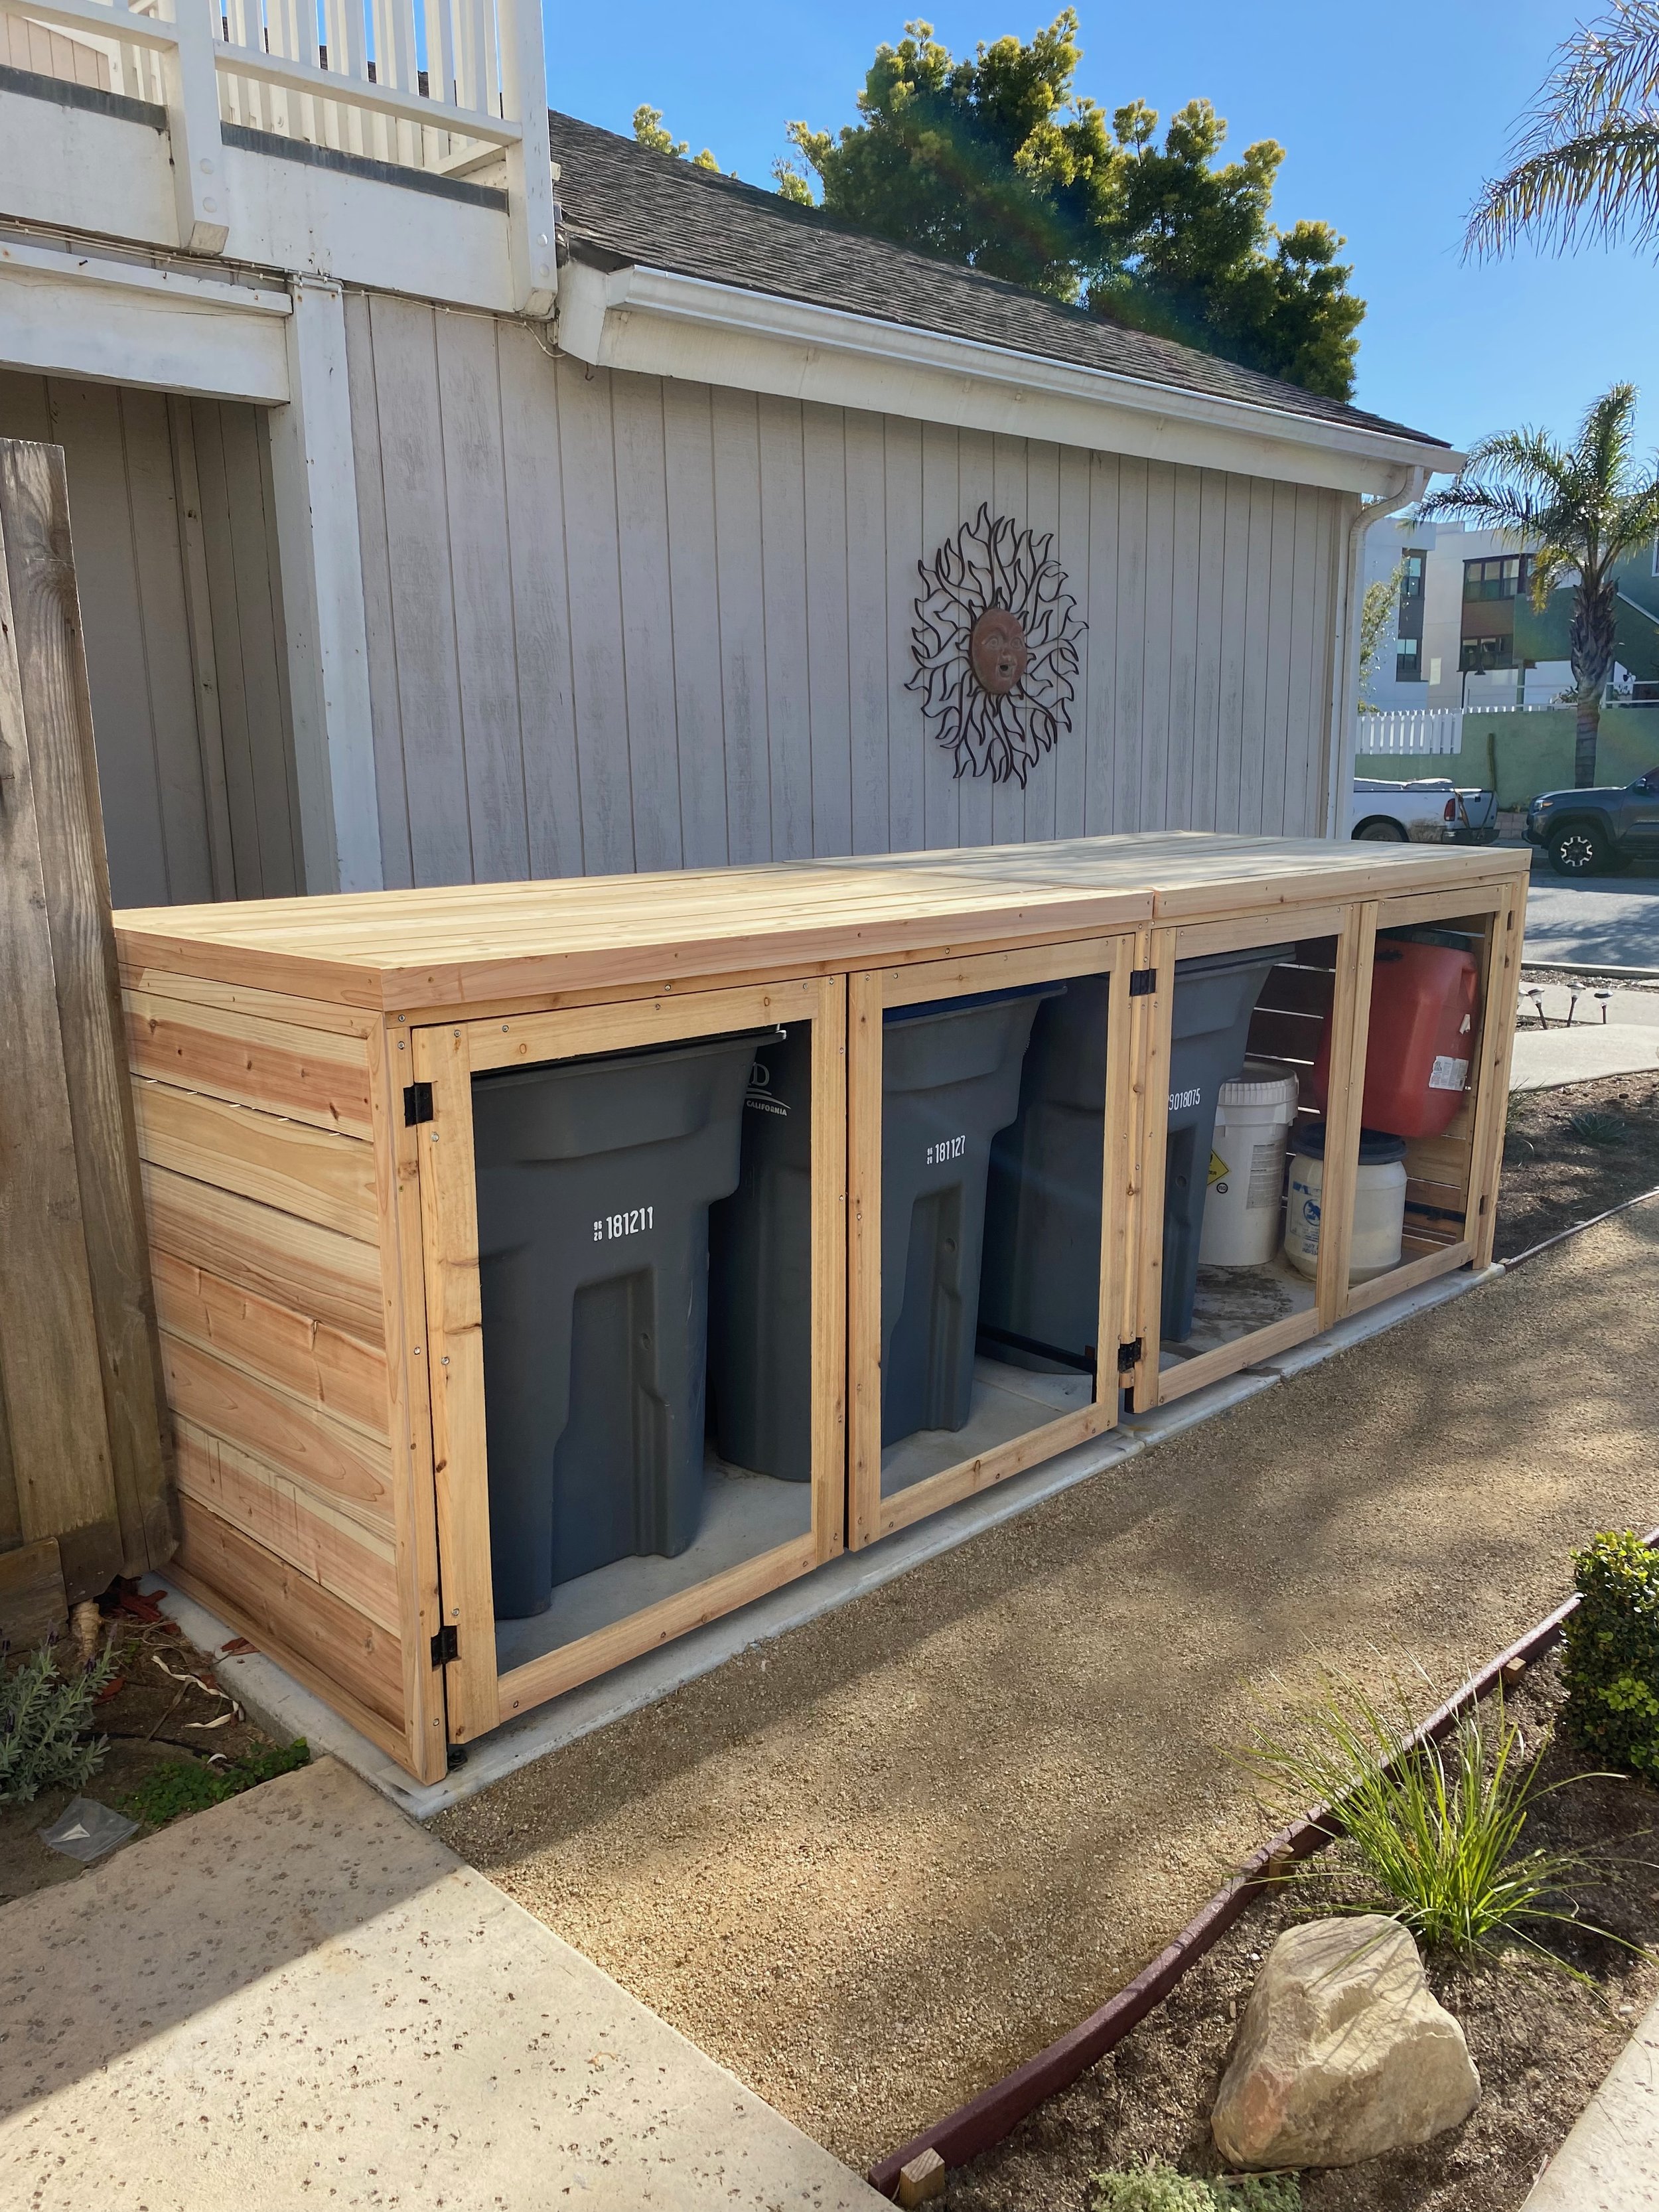
Custom Covered Trash Enclosure
When we bought this house, the interior of the house took precedence because obviously, we needed to be able to live in it. Little by little though, we have been putting time and effort into the yard. Right now though, I am sharing with you a piece of the puzzle. This piece is a fairy big piece though.
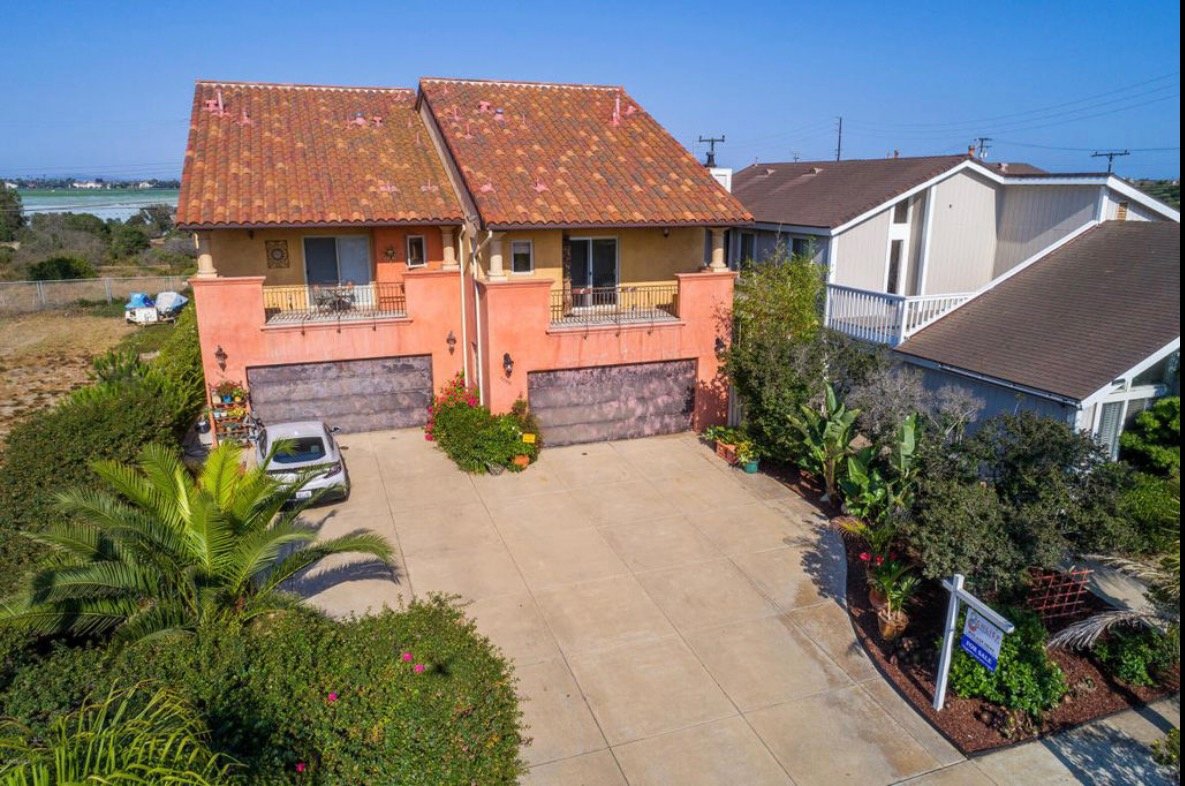
Before touching the front yard, it was overgrown plants that had no rhyme or reason, a spot for trash cans that blocked the view to the front door and didn’t even fit all the cans, and just no curb appeal. This is from the seller pictures when we purchased the house. Passable, yes, but overgrown, some dying, and blocking the view of the front door which was leading to confused guests and packages that were often delivered to our neighbor instead of us.
Fast forwarding through new railings, exterior painting, new lighting, backyard renovation including new fence, demo and planting of front yard, (will be sharing all of that soon)… brings me to the trash enclosure. The existing area for the trash cans was part of the full height fence and it sat next to the path that goes to our front door. However, it visually blocked the entrance and it wasn’t enclosed, so every time you walked in or out of the house, all you saw was ugly trash cans. No thank you!
Existing trash location before new trash enclosure - Ignore my finger pointing, I had taken this video for a contractor!
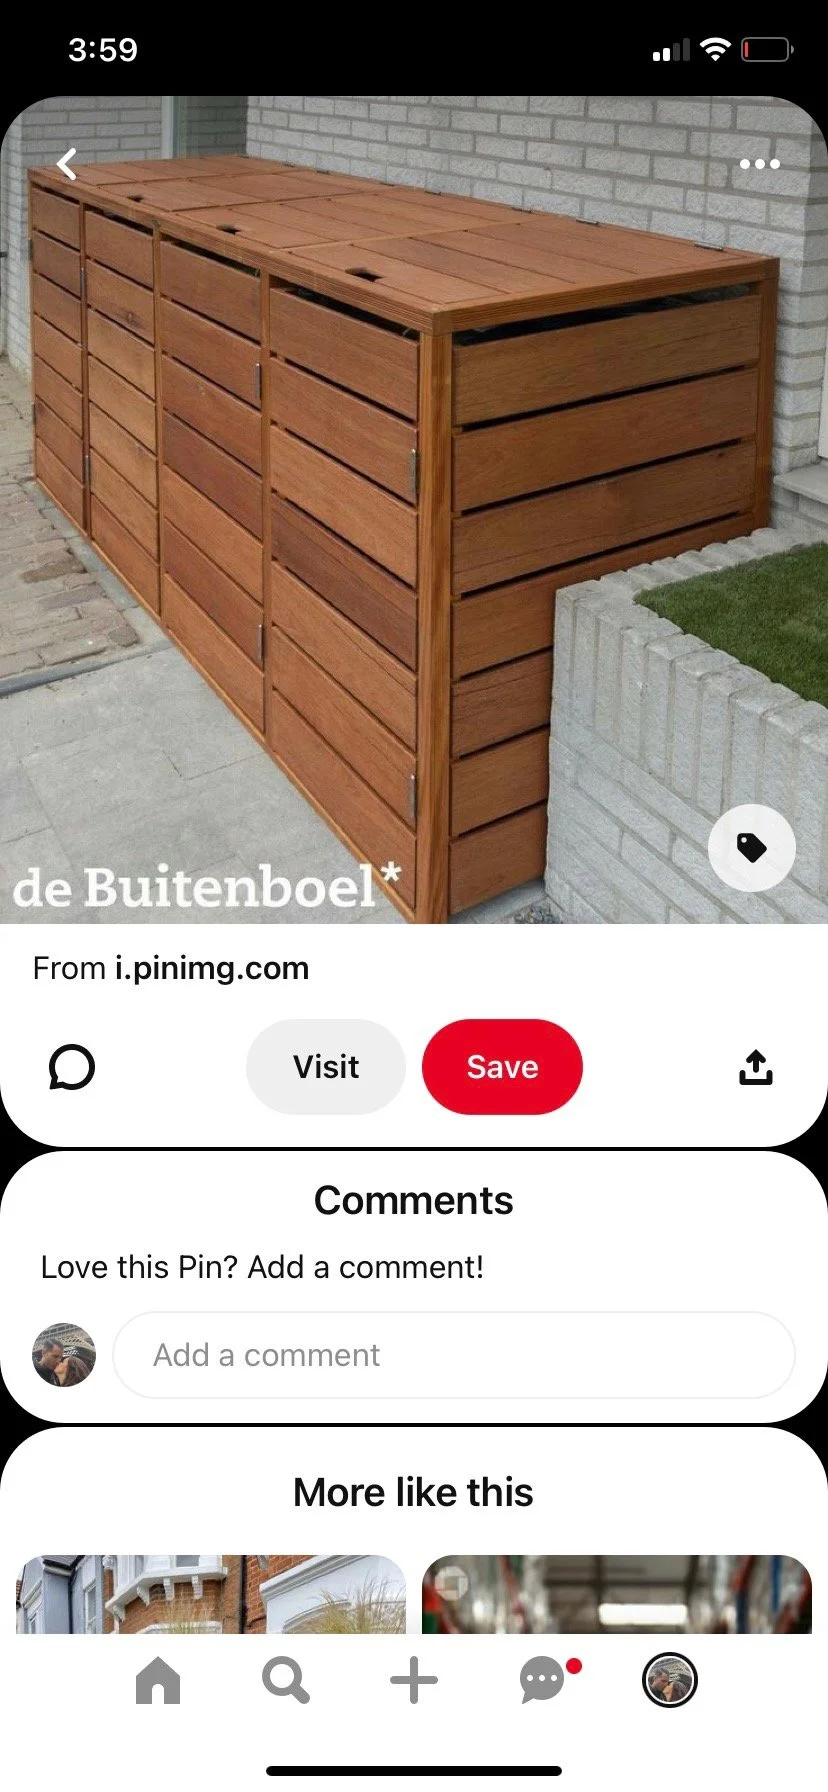
I don’t know about you, but it takes me a bit of looking around at different inspiration before I have an idea of what I want to do. Especially when it is my first time working on a particular item. My brain has to understand all the components before I can formulate a plan. So into the Pinterest archives I went!
Of course I had come across all the standard trash enclosure designs that looked more like a fence, but I really wanted it to be enclosed and lower, so that it felt more like a furniture piece than a fence. I started coming across these slatted wood units and was instantly like, “YES! That’s it!”. After playing around with the placement, we settled on keeping it towards the house but turning it the length of the yard due to space and adding a DG path to get the cans in and out. You can see where I was going with this below.
Preliminary Landscape concept plan for quoting purposes
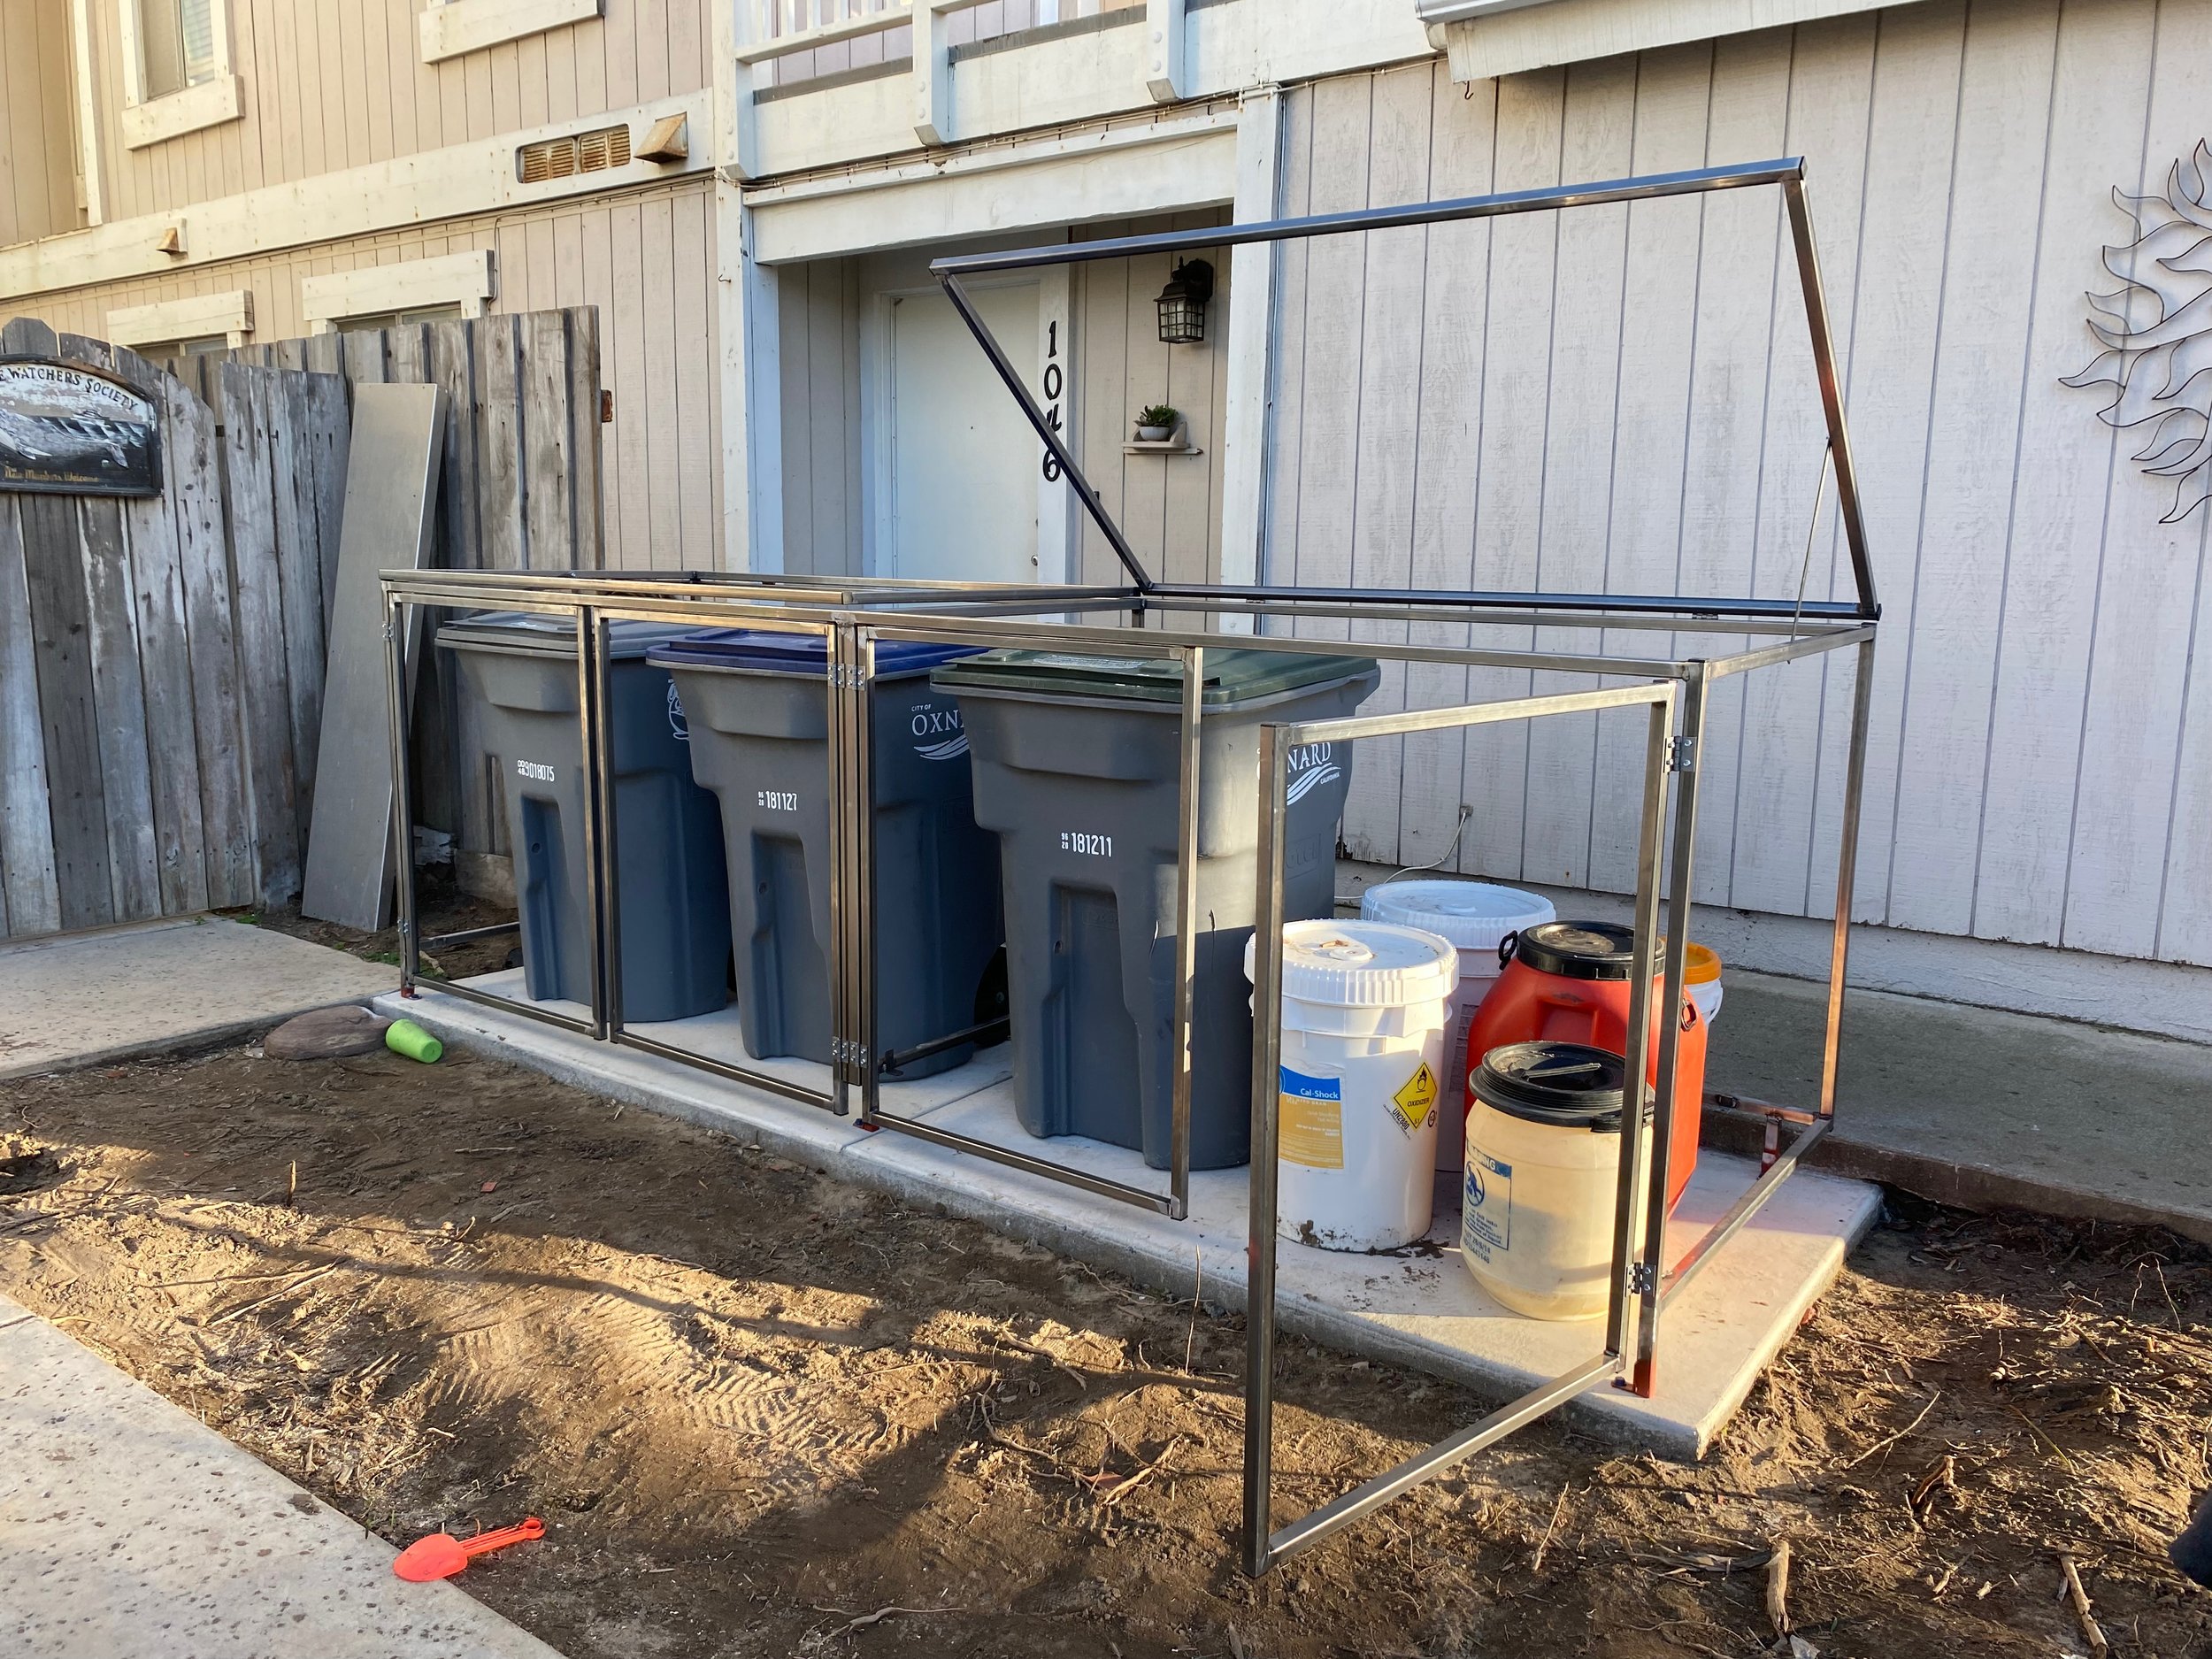
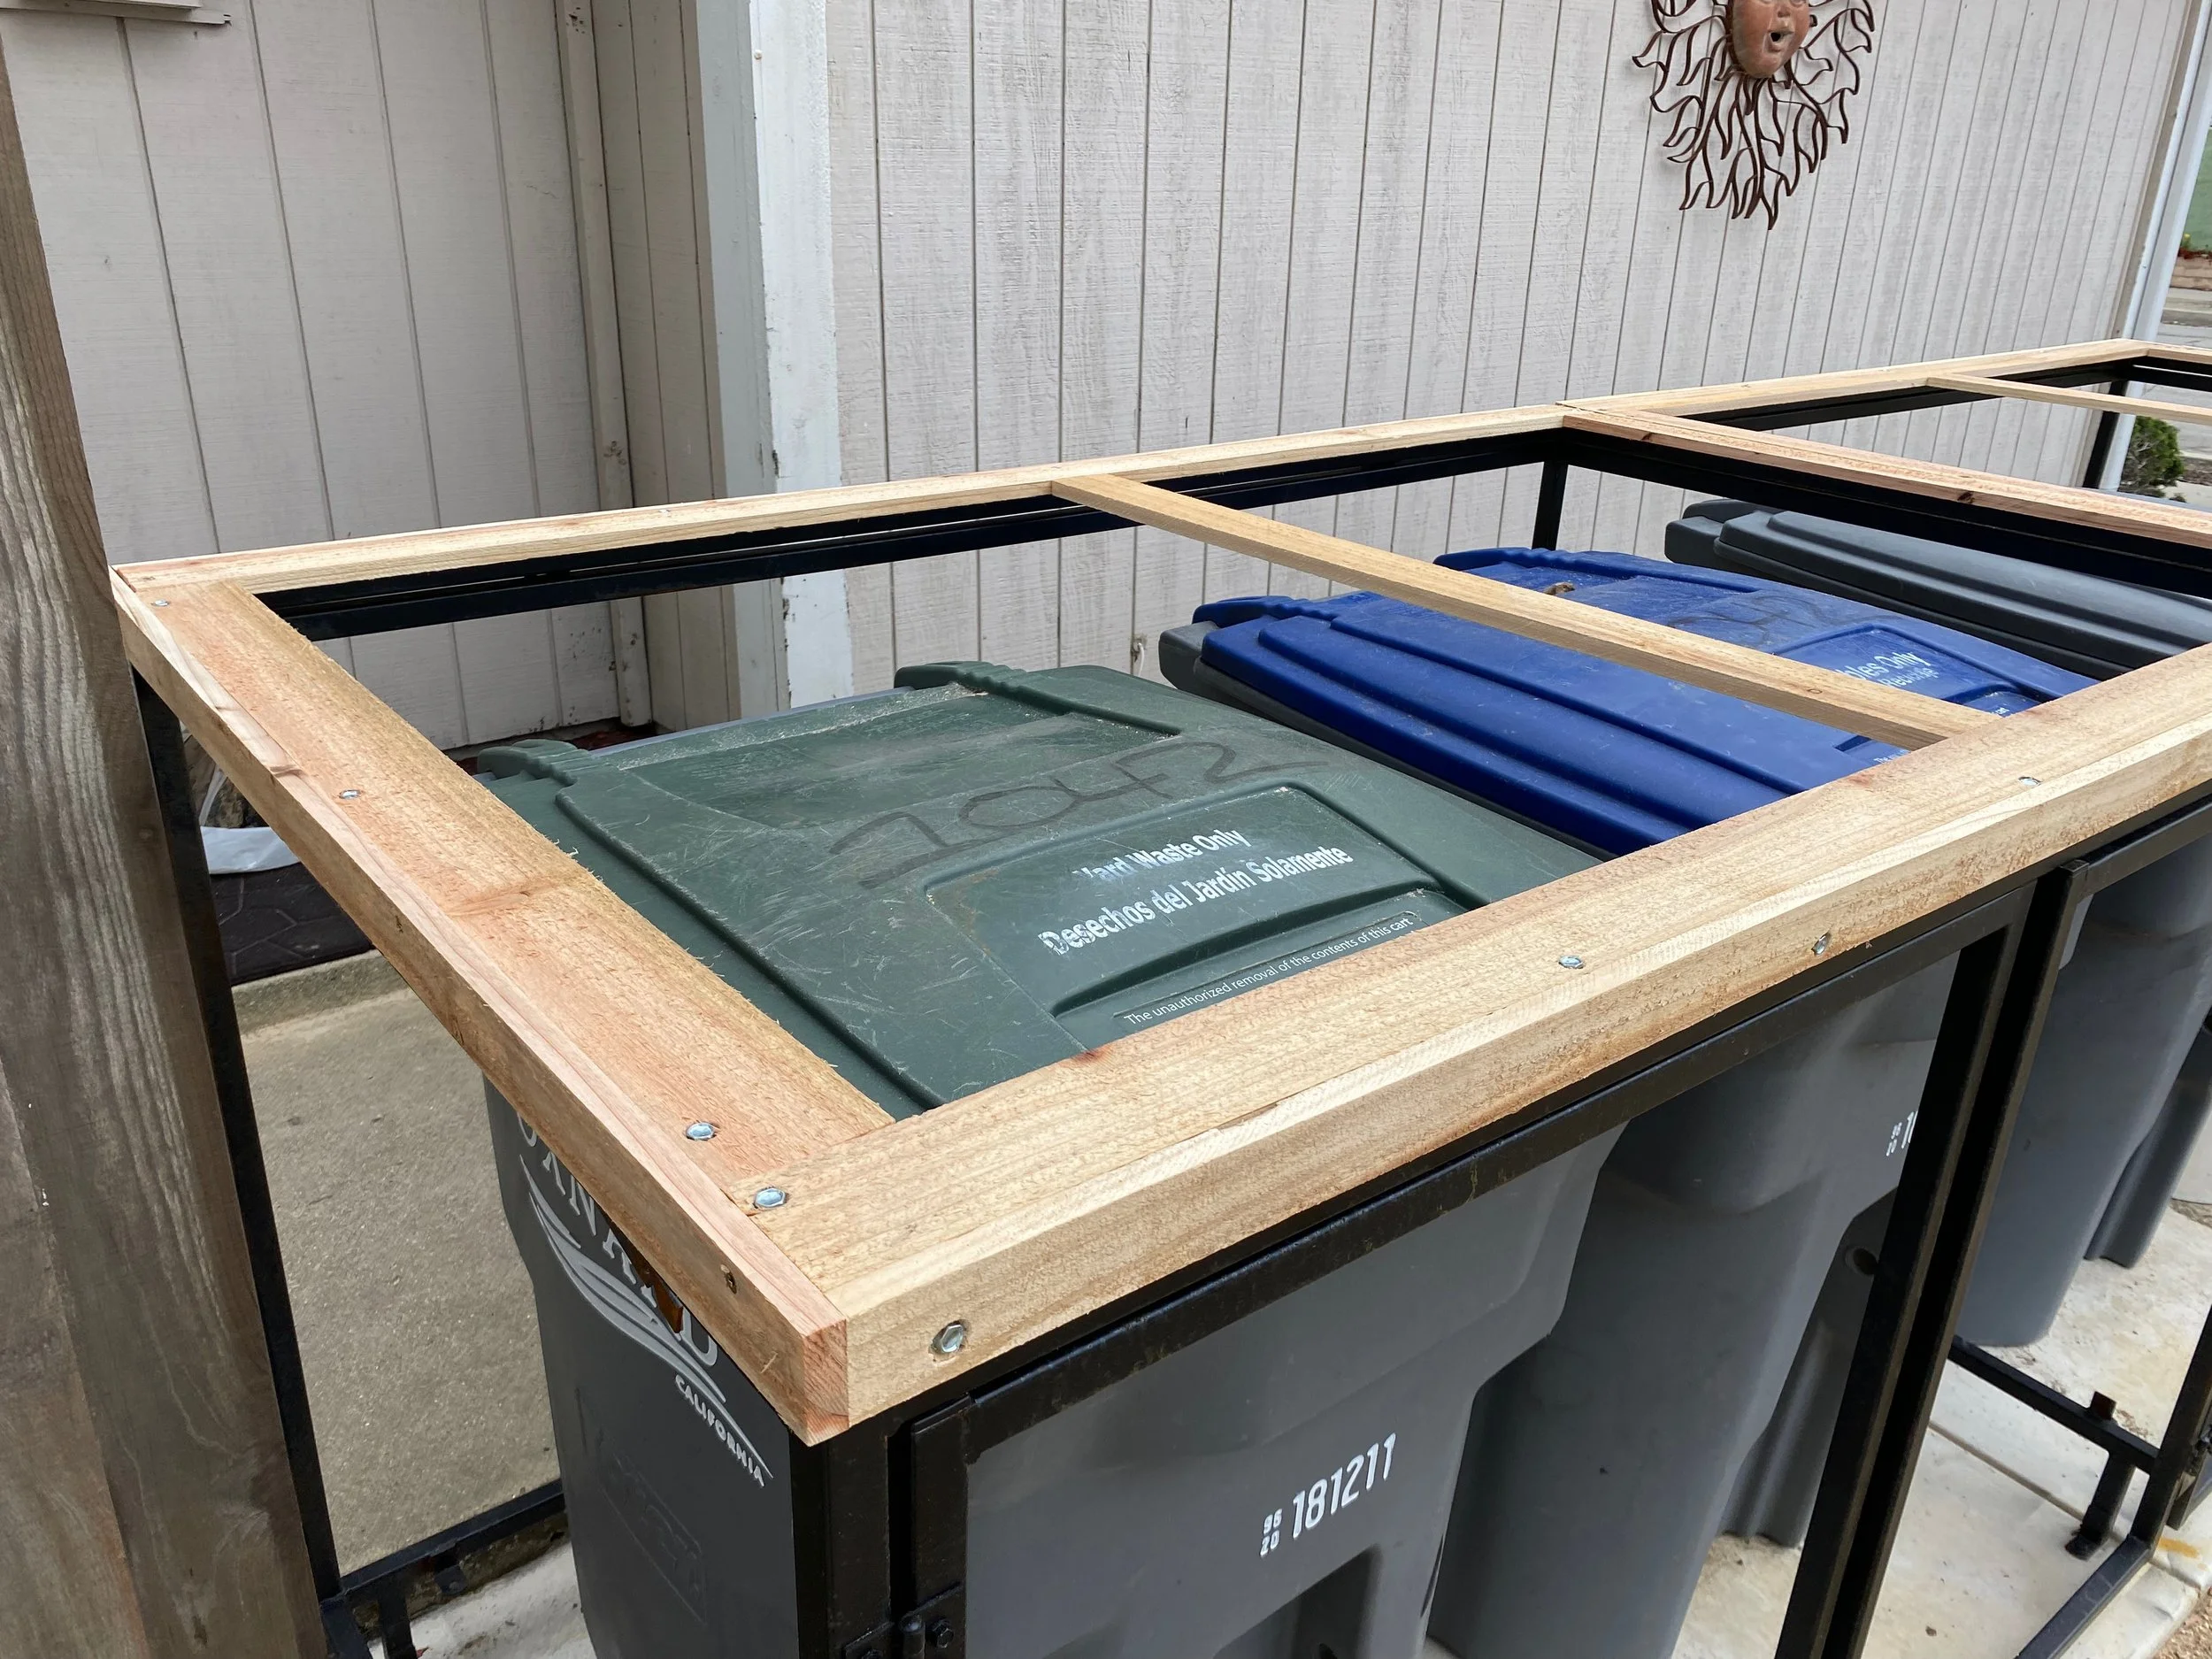
After talking to a couple contractors, I decided I didn’t want to pay for the full unit to be built but opted to have the frame only built out of steel and I would cover it in wood myself. I had Ventura Concrete Guys pour the pad for me and Gamble Gates built me the steel frame, leaving me with this as my starting point:
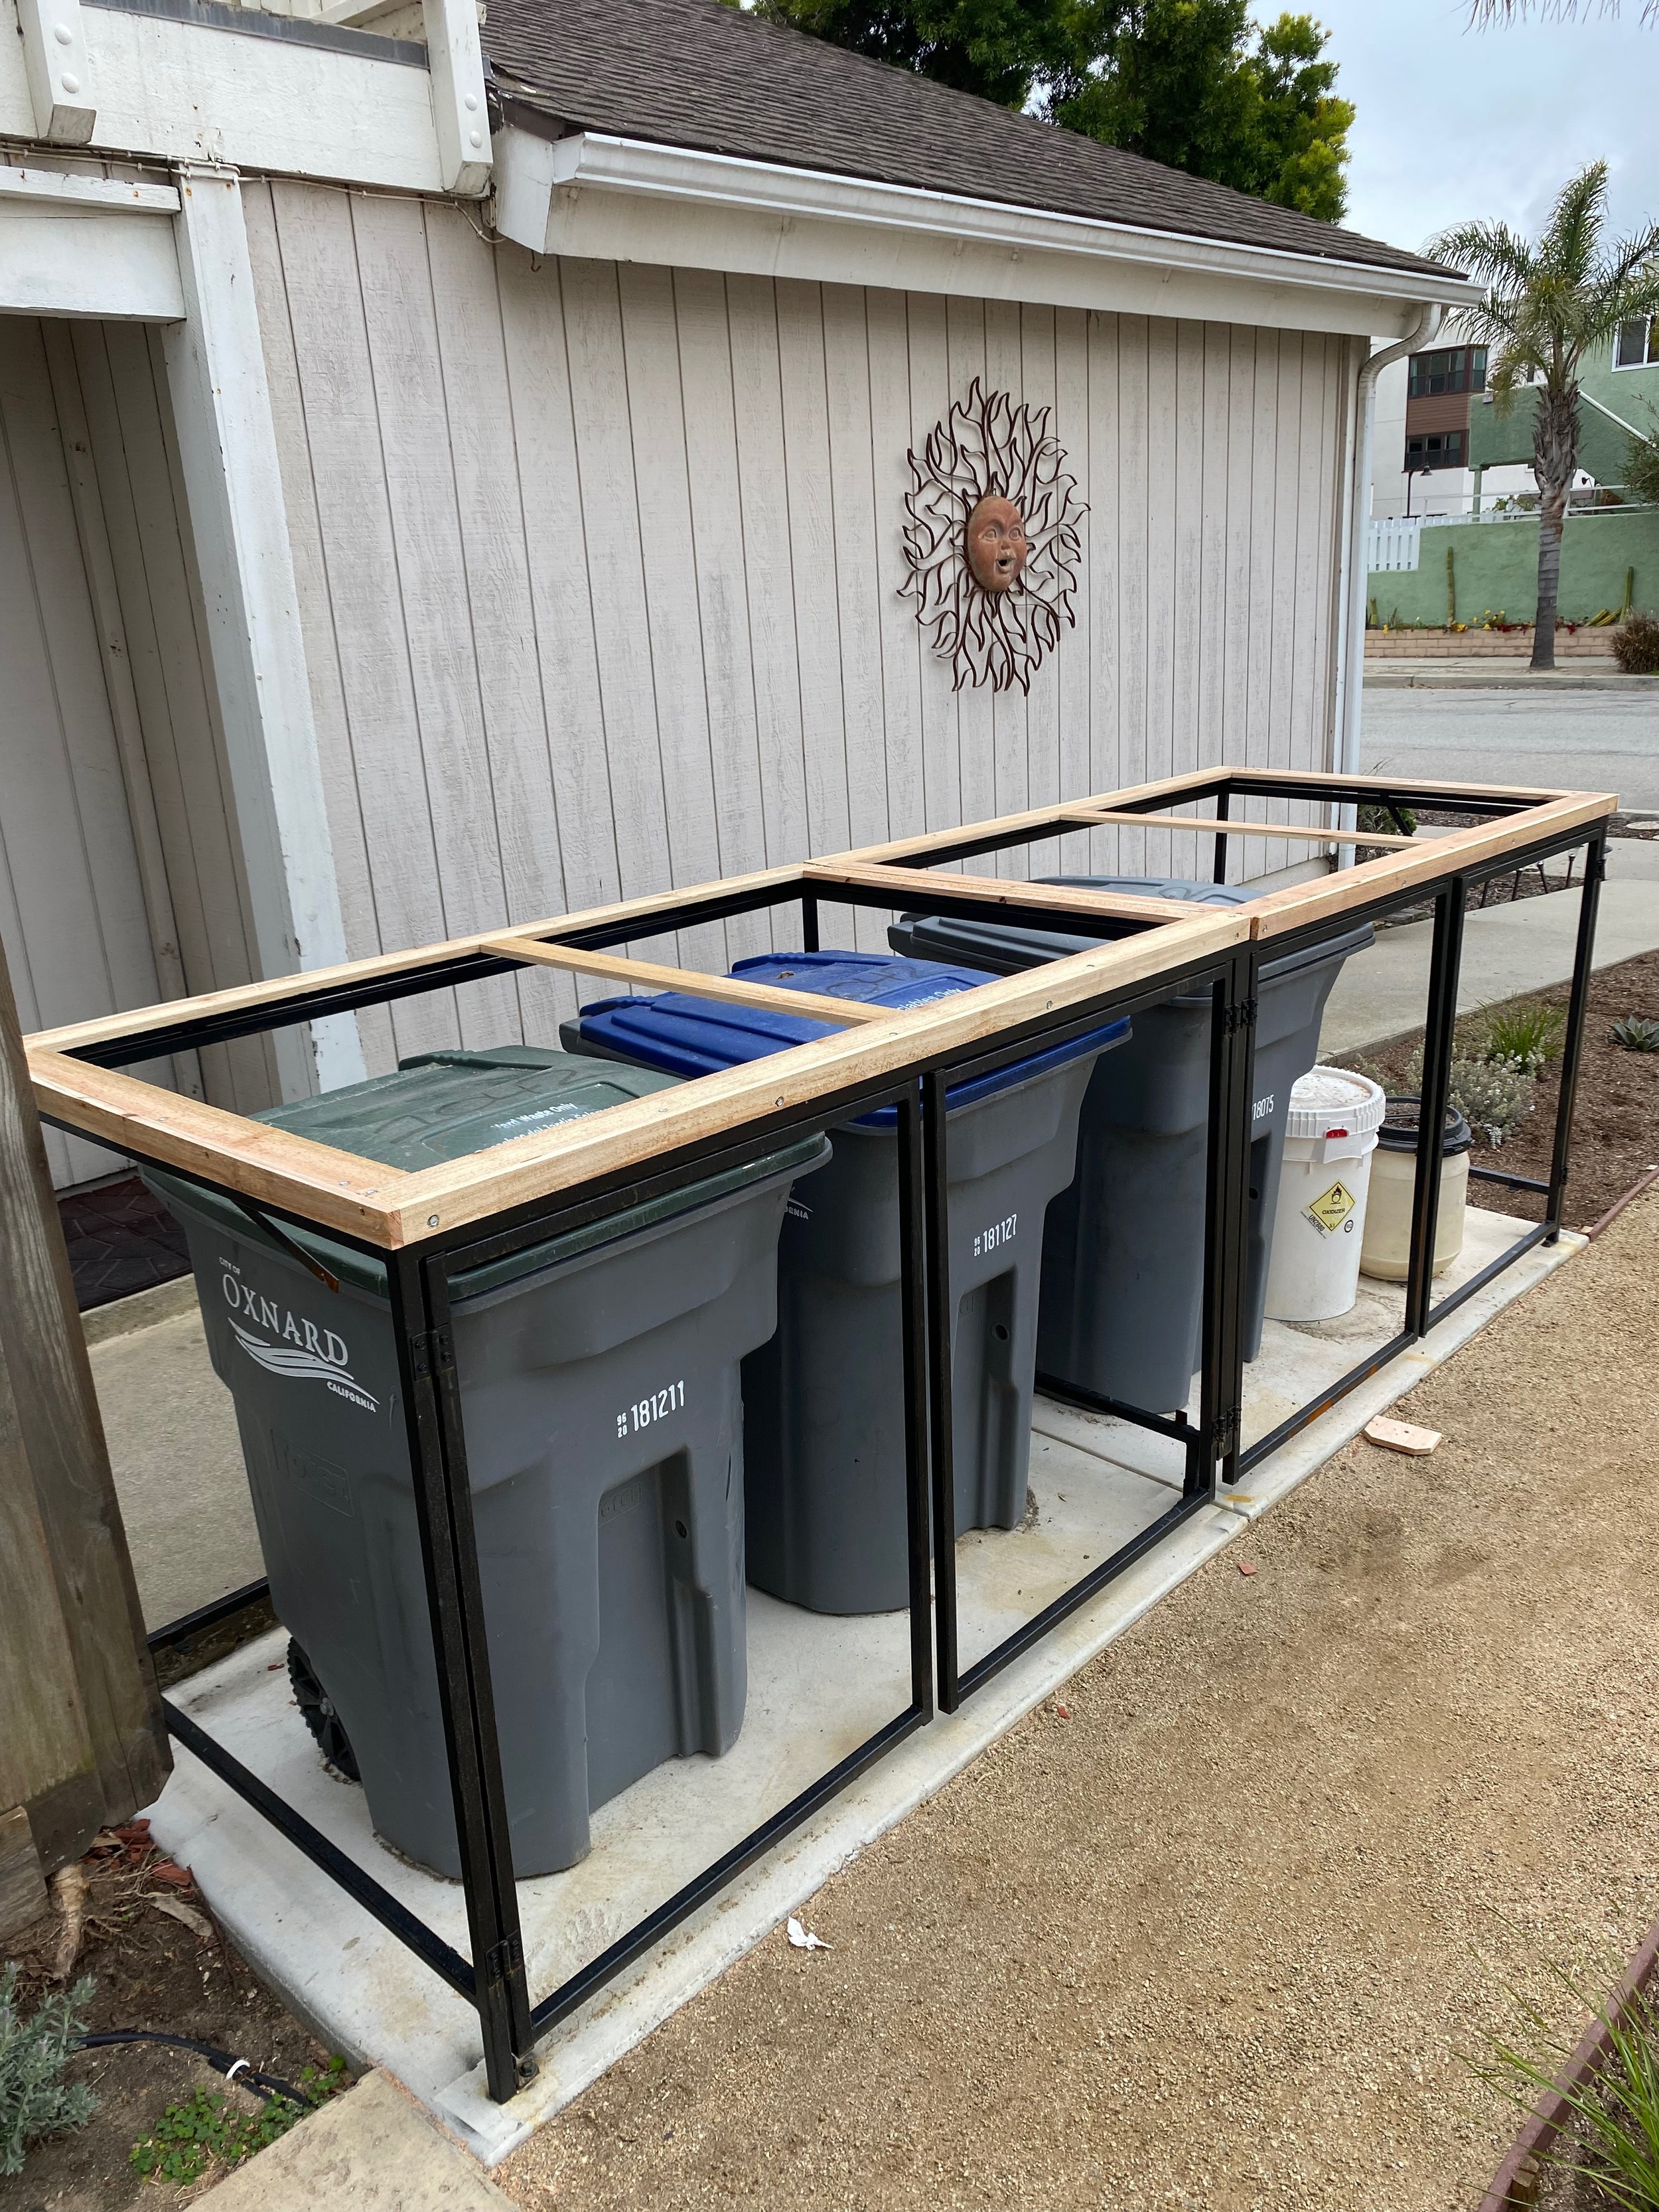
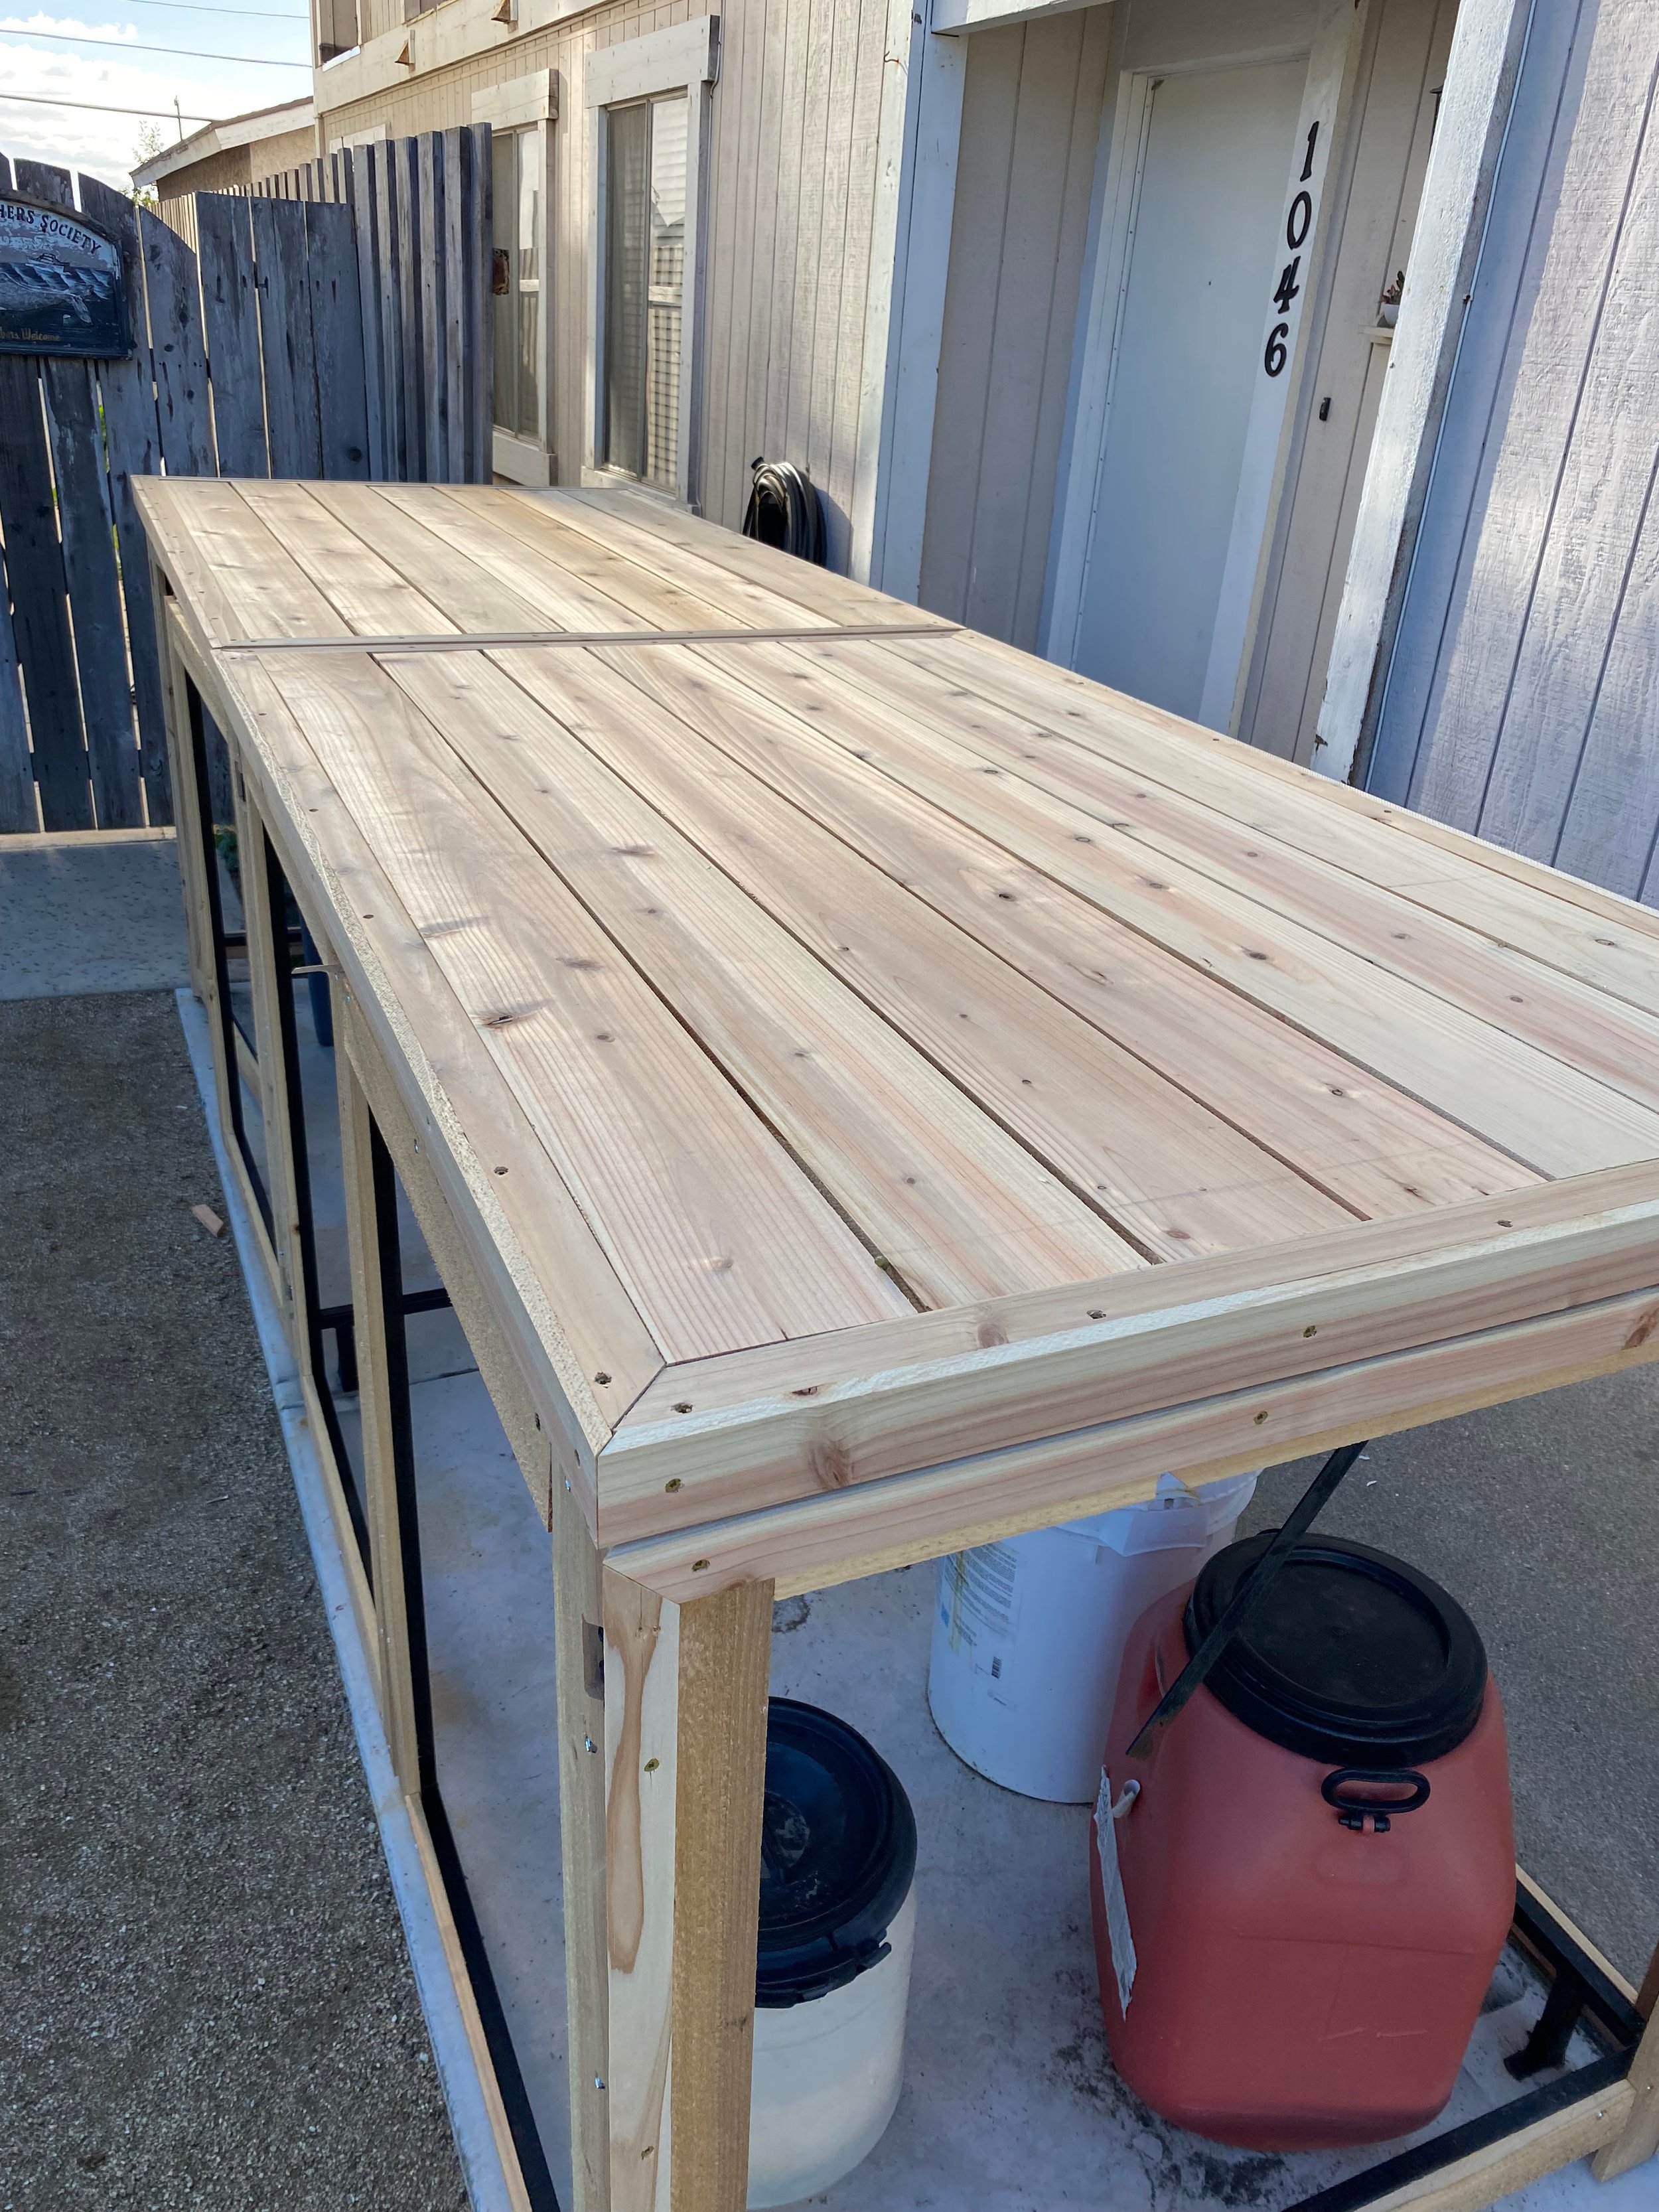
There were multiple things to consider when I was figuring out how to cover this in wood. First, steel is not that easy to screw in to, so I wanted to come up with a way to reduce the amount of screws into metal that I needed to use. Secondly, I didn’t want a lot of screws in each slatted board because that is a lot of holes to fill and that isn’t as pretty. Thirdly, I had to make sure that the doors and lids could still swing open with the added thickness of wood. So….. I decided to cover the metal structure in wood that ultimately wouldn’t be seen. I could attach these boards using self-tapping metal screws and allow overhand that I could use coated wood screws from the underside for the slat boards so that they wouldn’t show. Huh, you say?
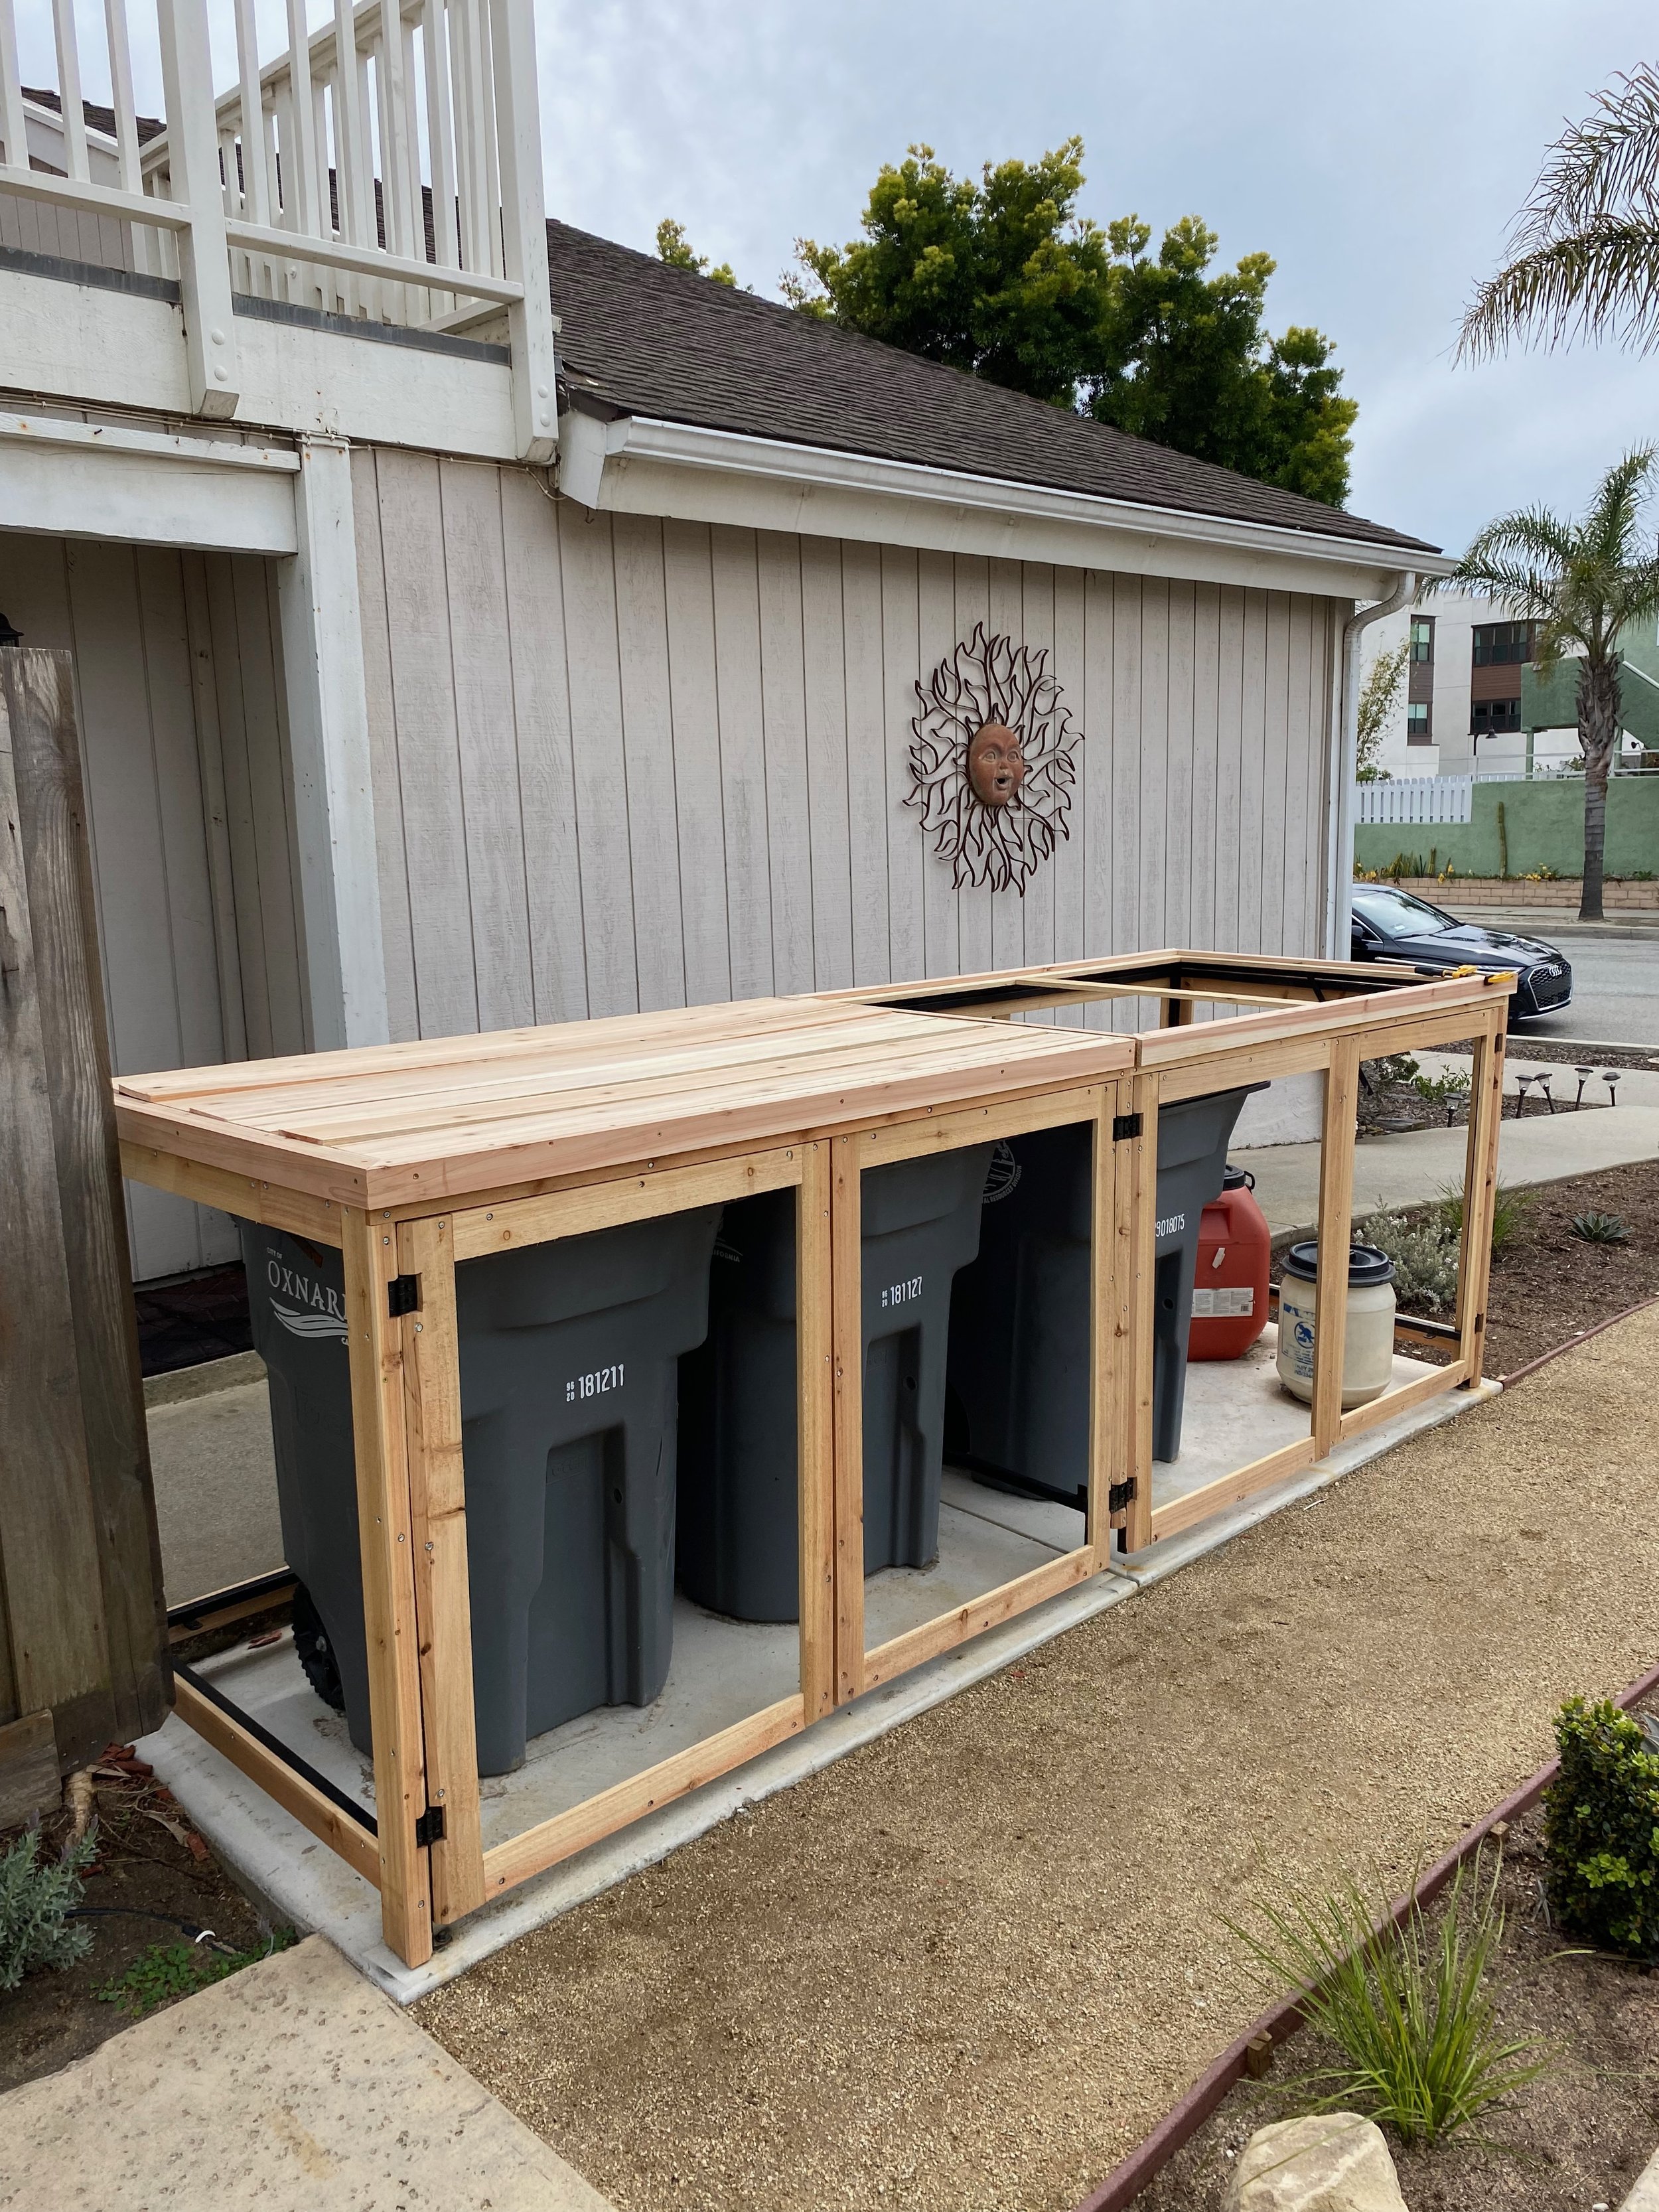
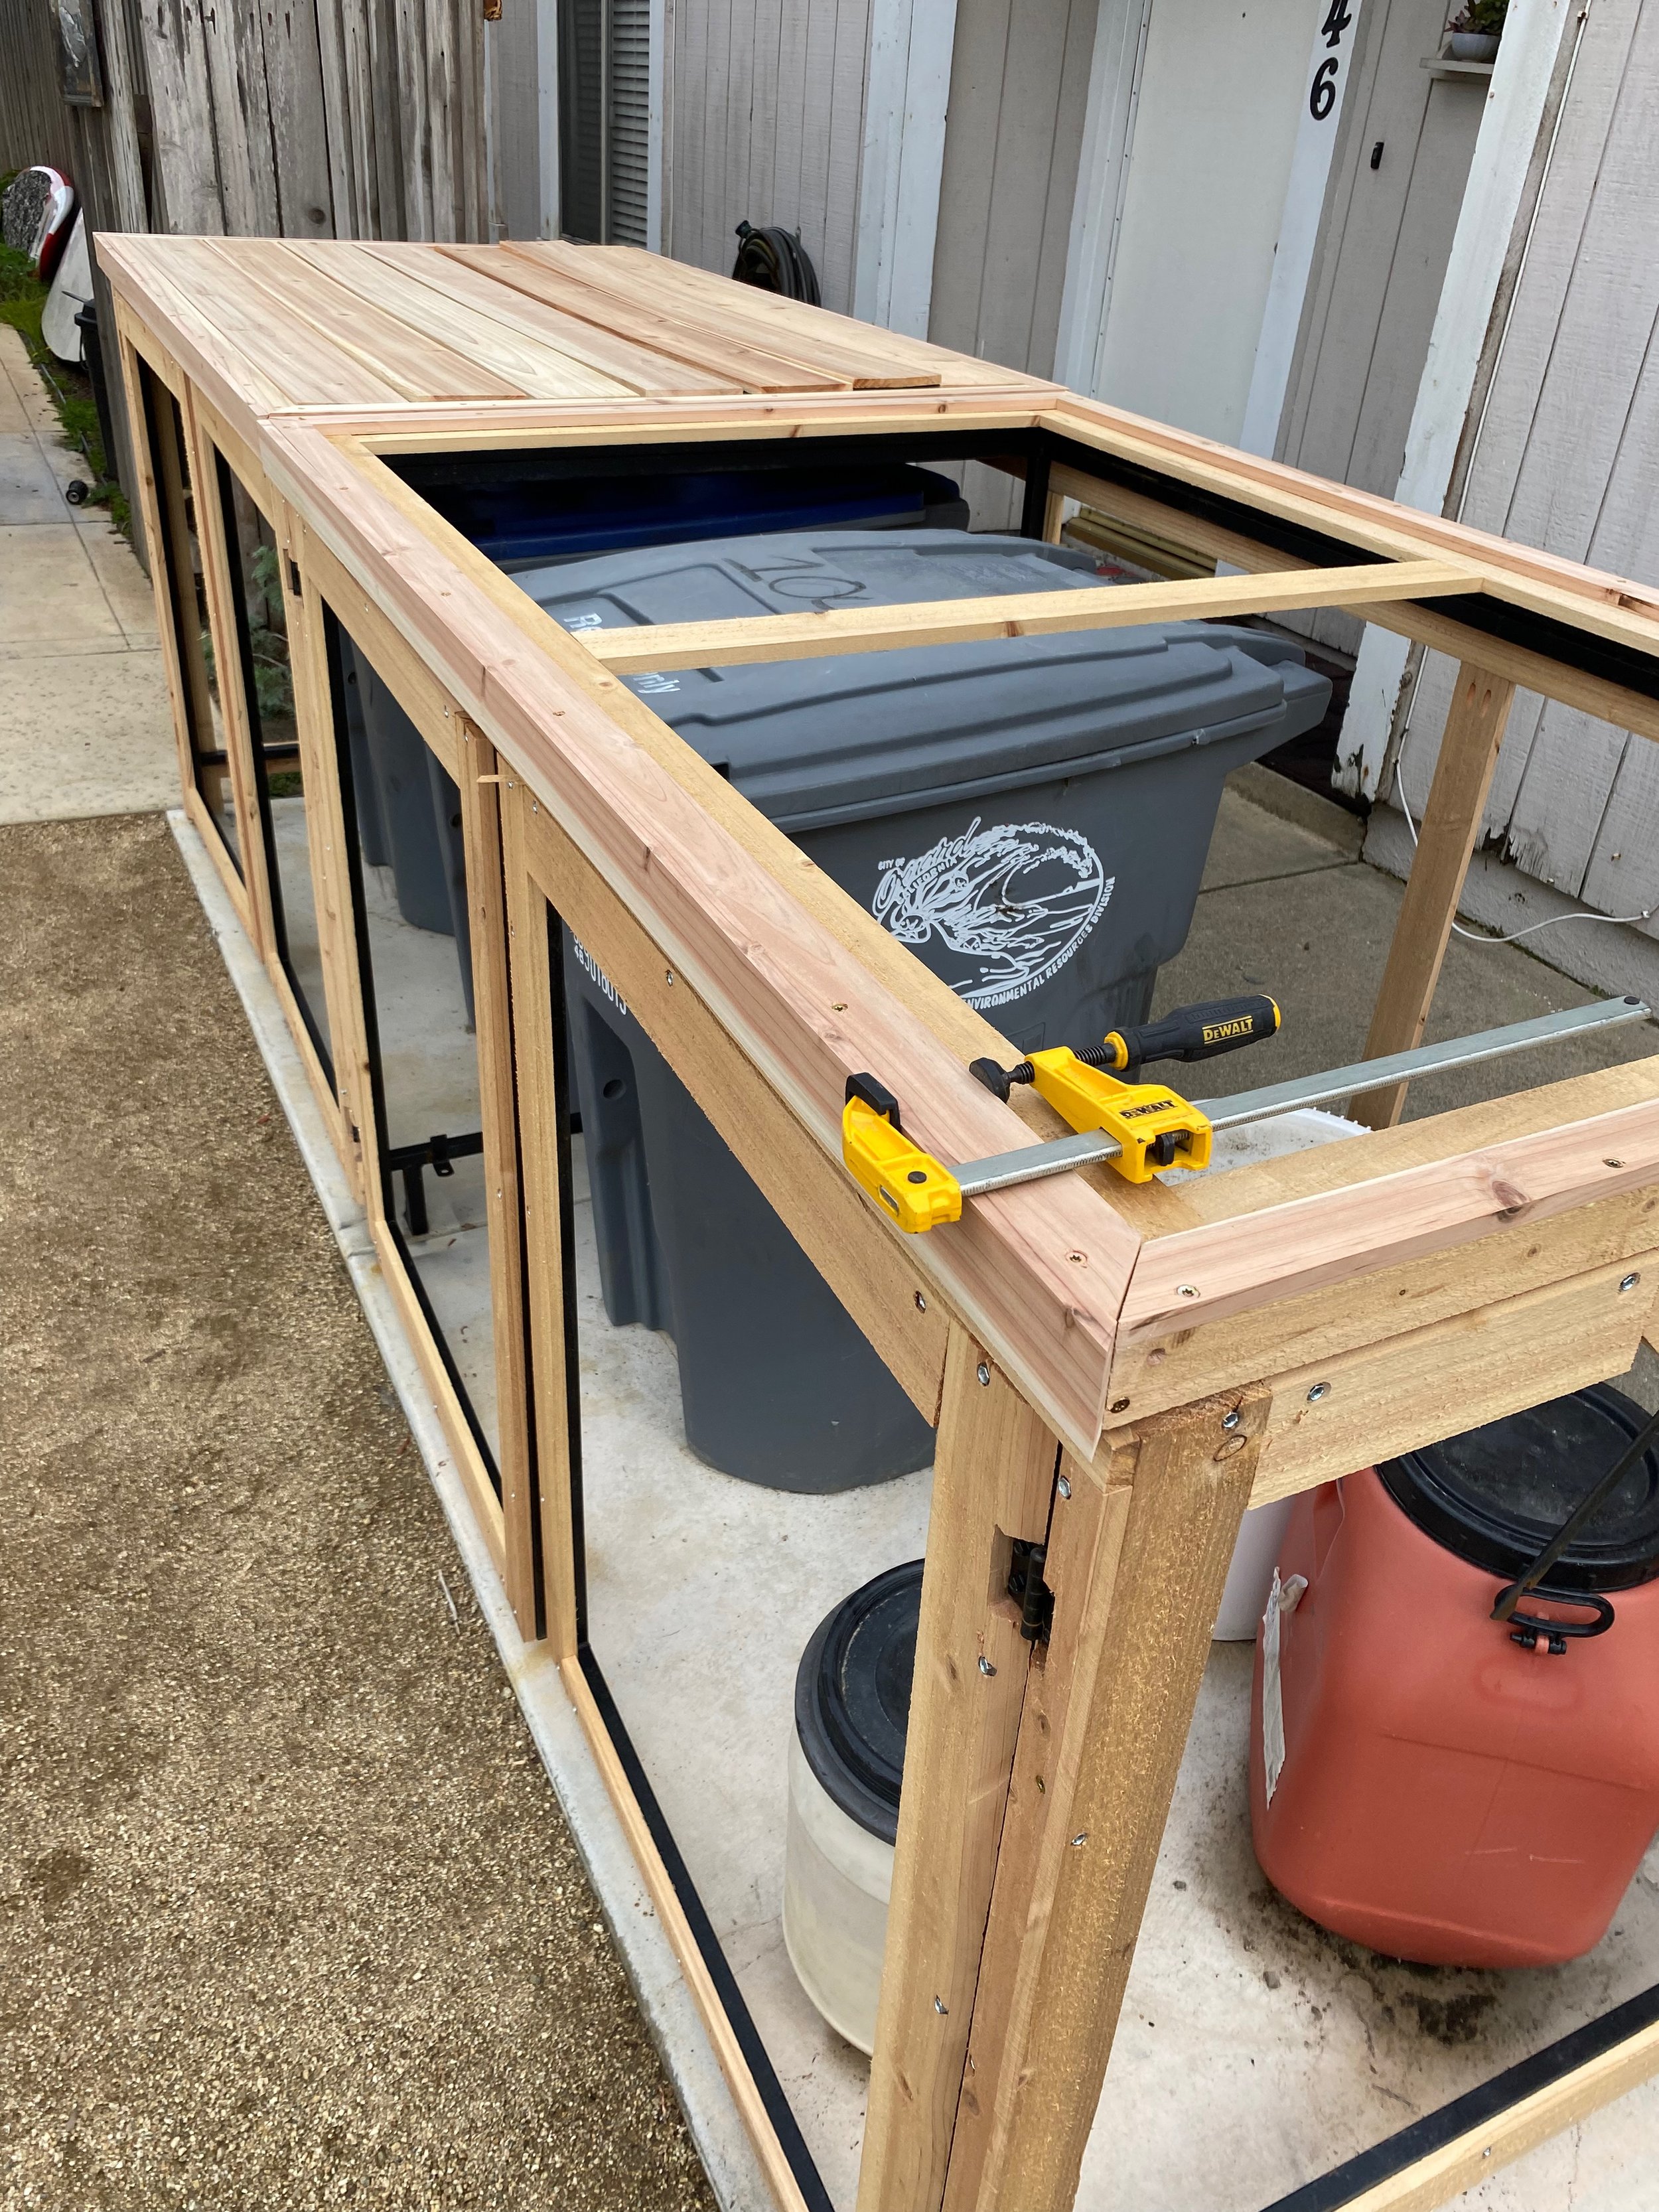
Here you can see the progression of attaching the under wood layer using the self-tapping metal screws. As you can see, the heads on these screws are quite large, which is why I didn’t want to have this as the finished layer. You can start to see here how I beveled the locations of the door swings and lid lifts at a 45° angle.
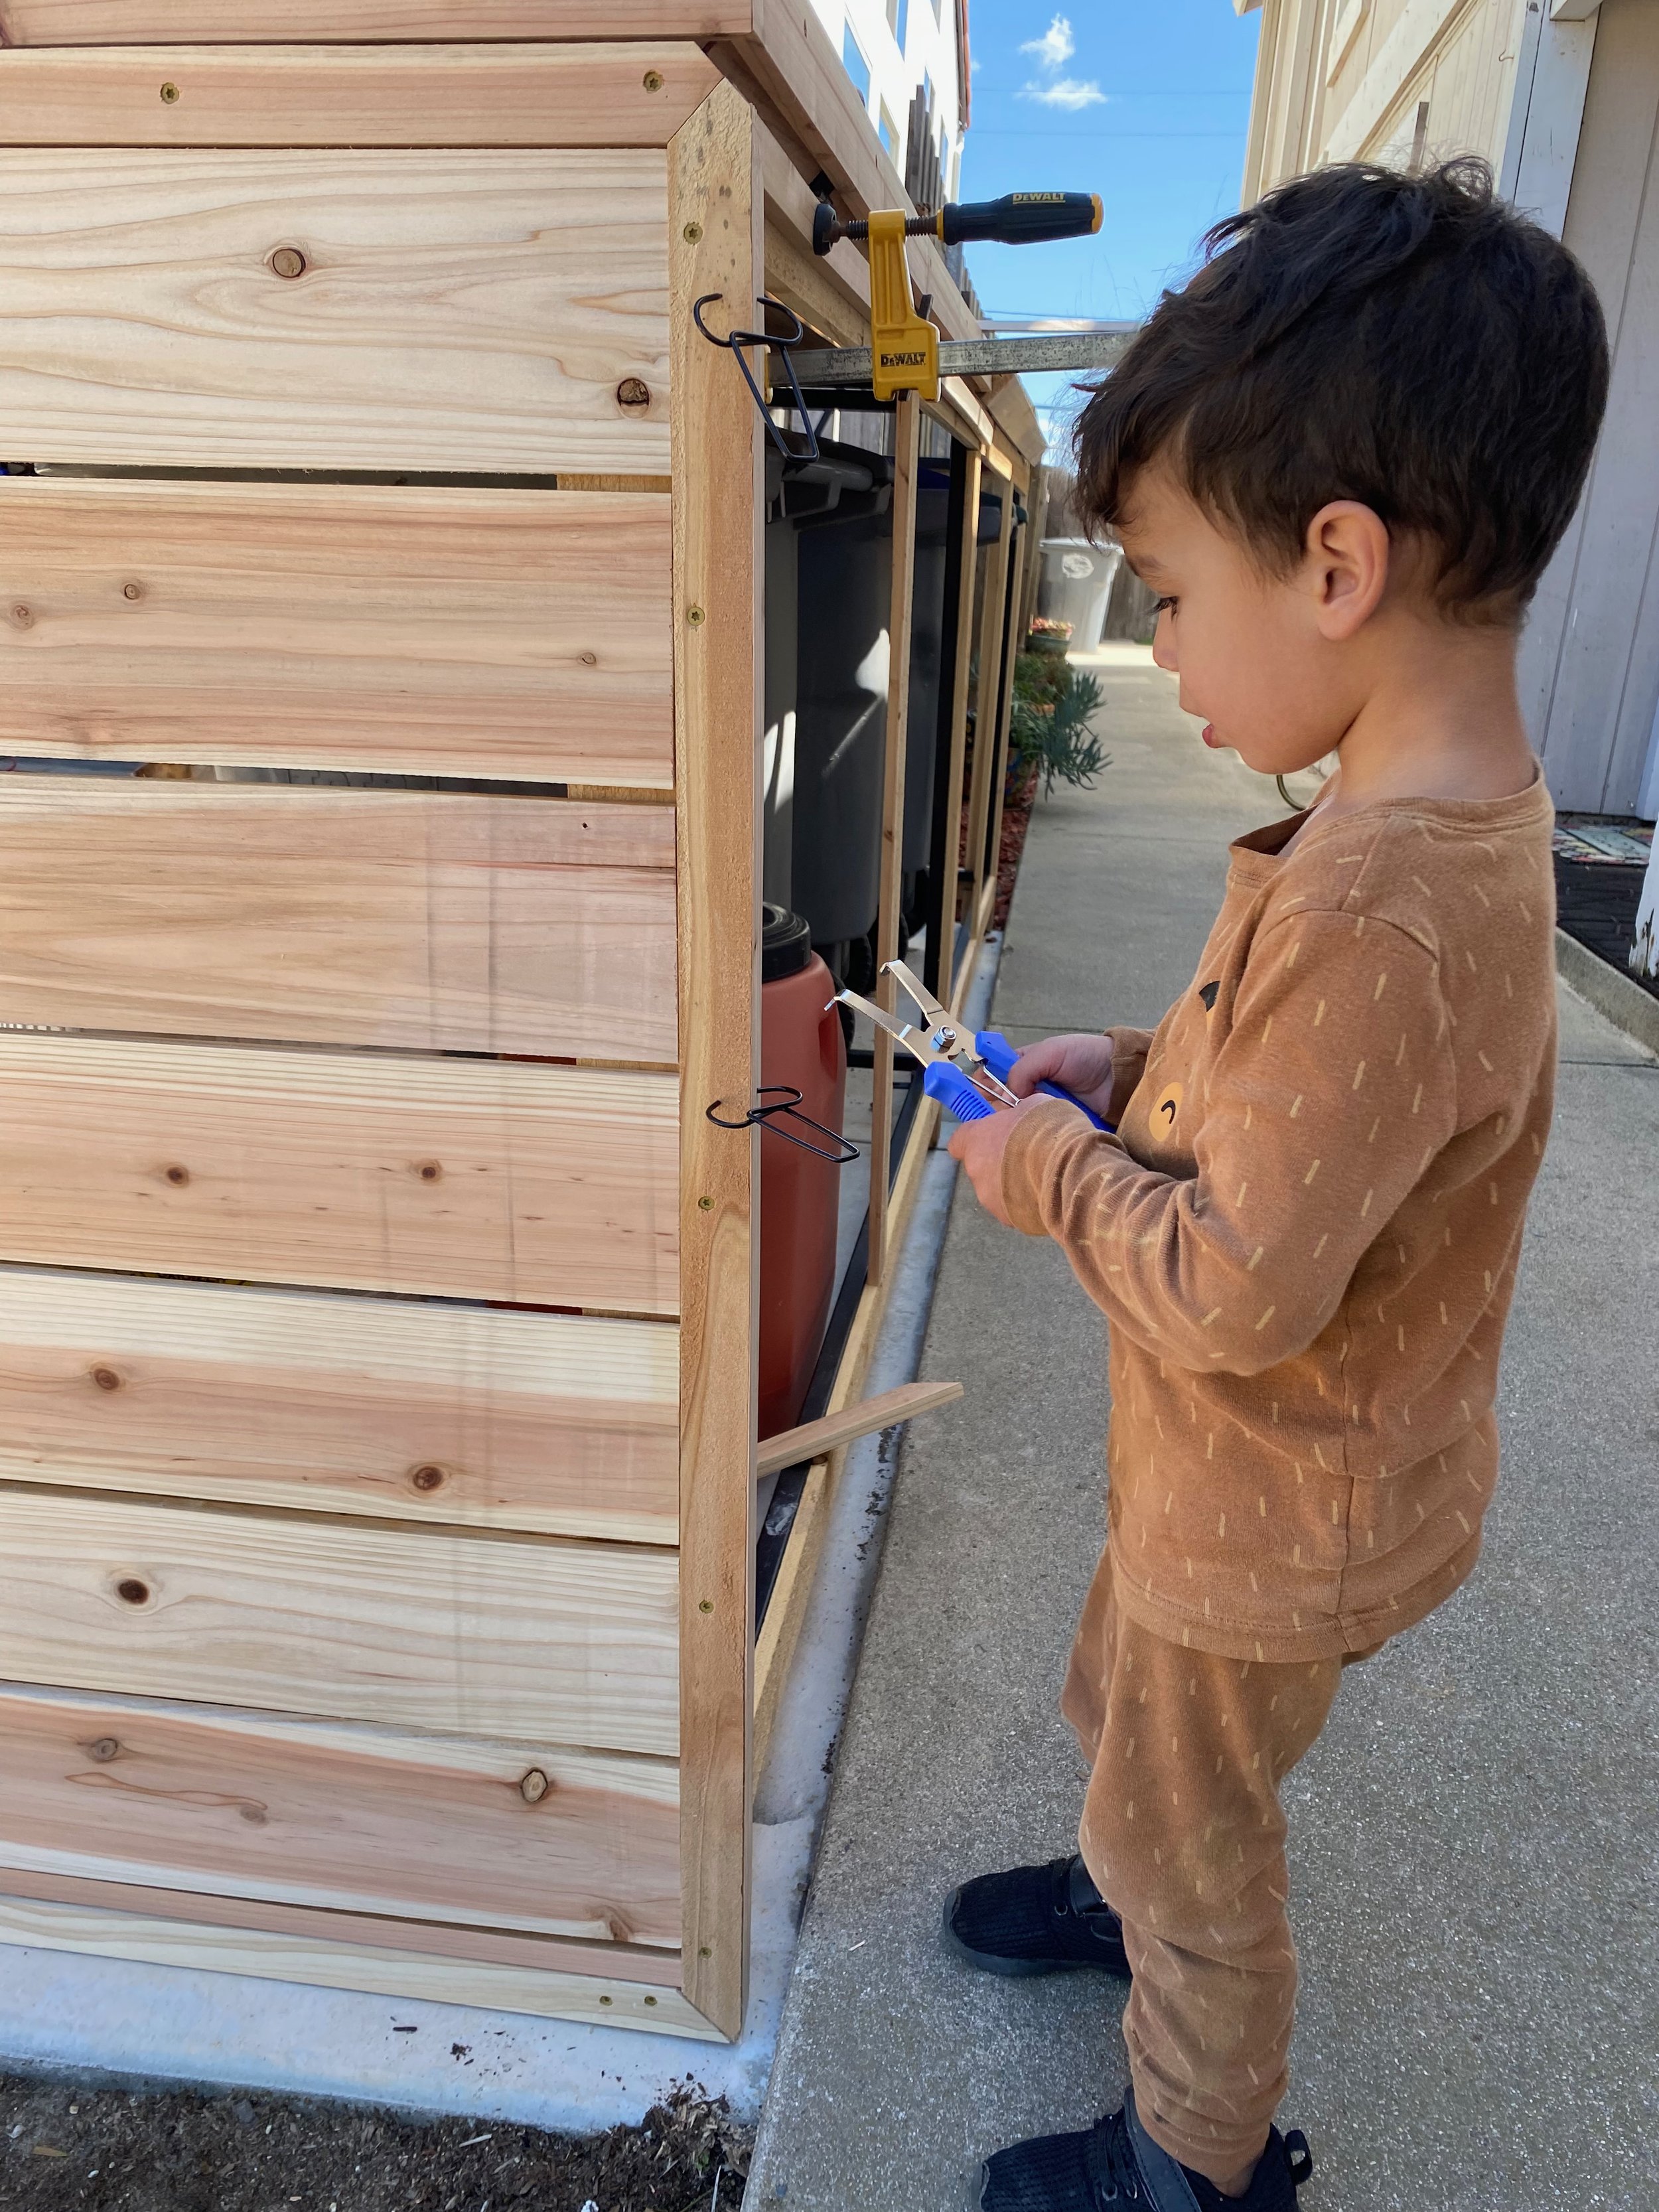
With these boards completed, I was ready to start on the finished top boards. I am using cedar fence boards, which are very rough, so for the finished boards, I wanted them smooth and even. This is where my handy planer and special helper came in!
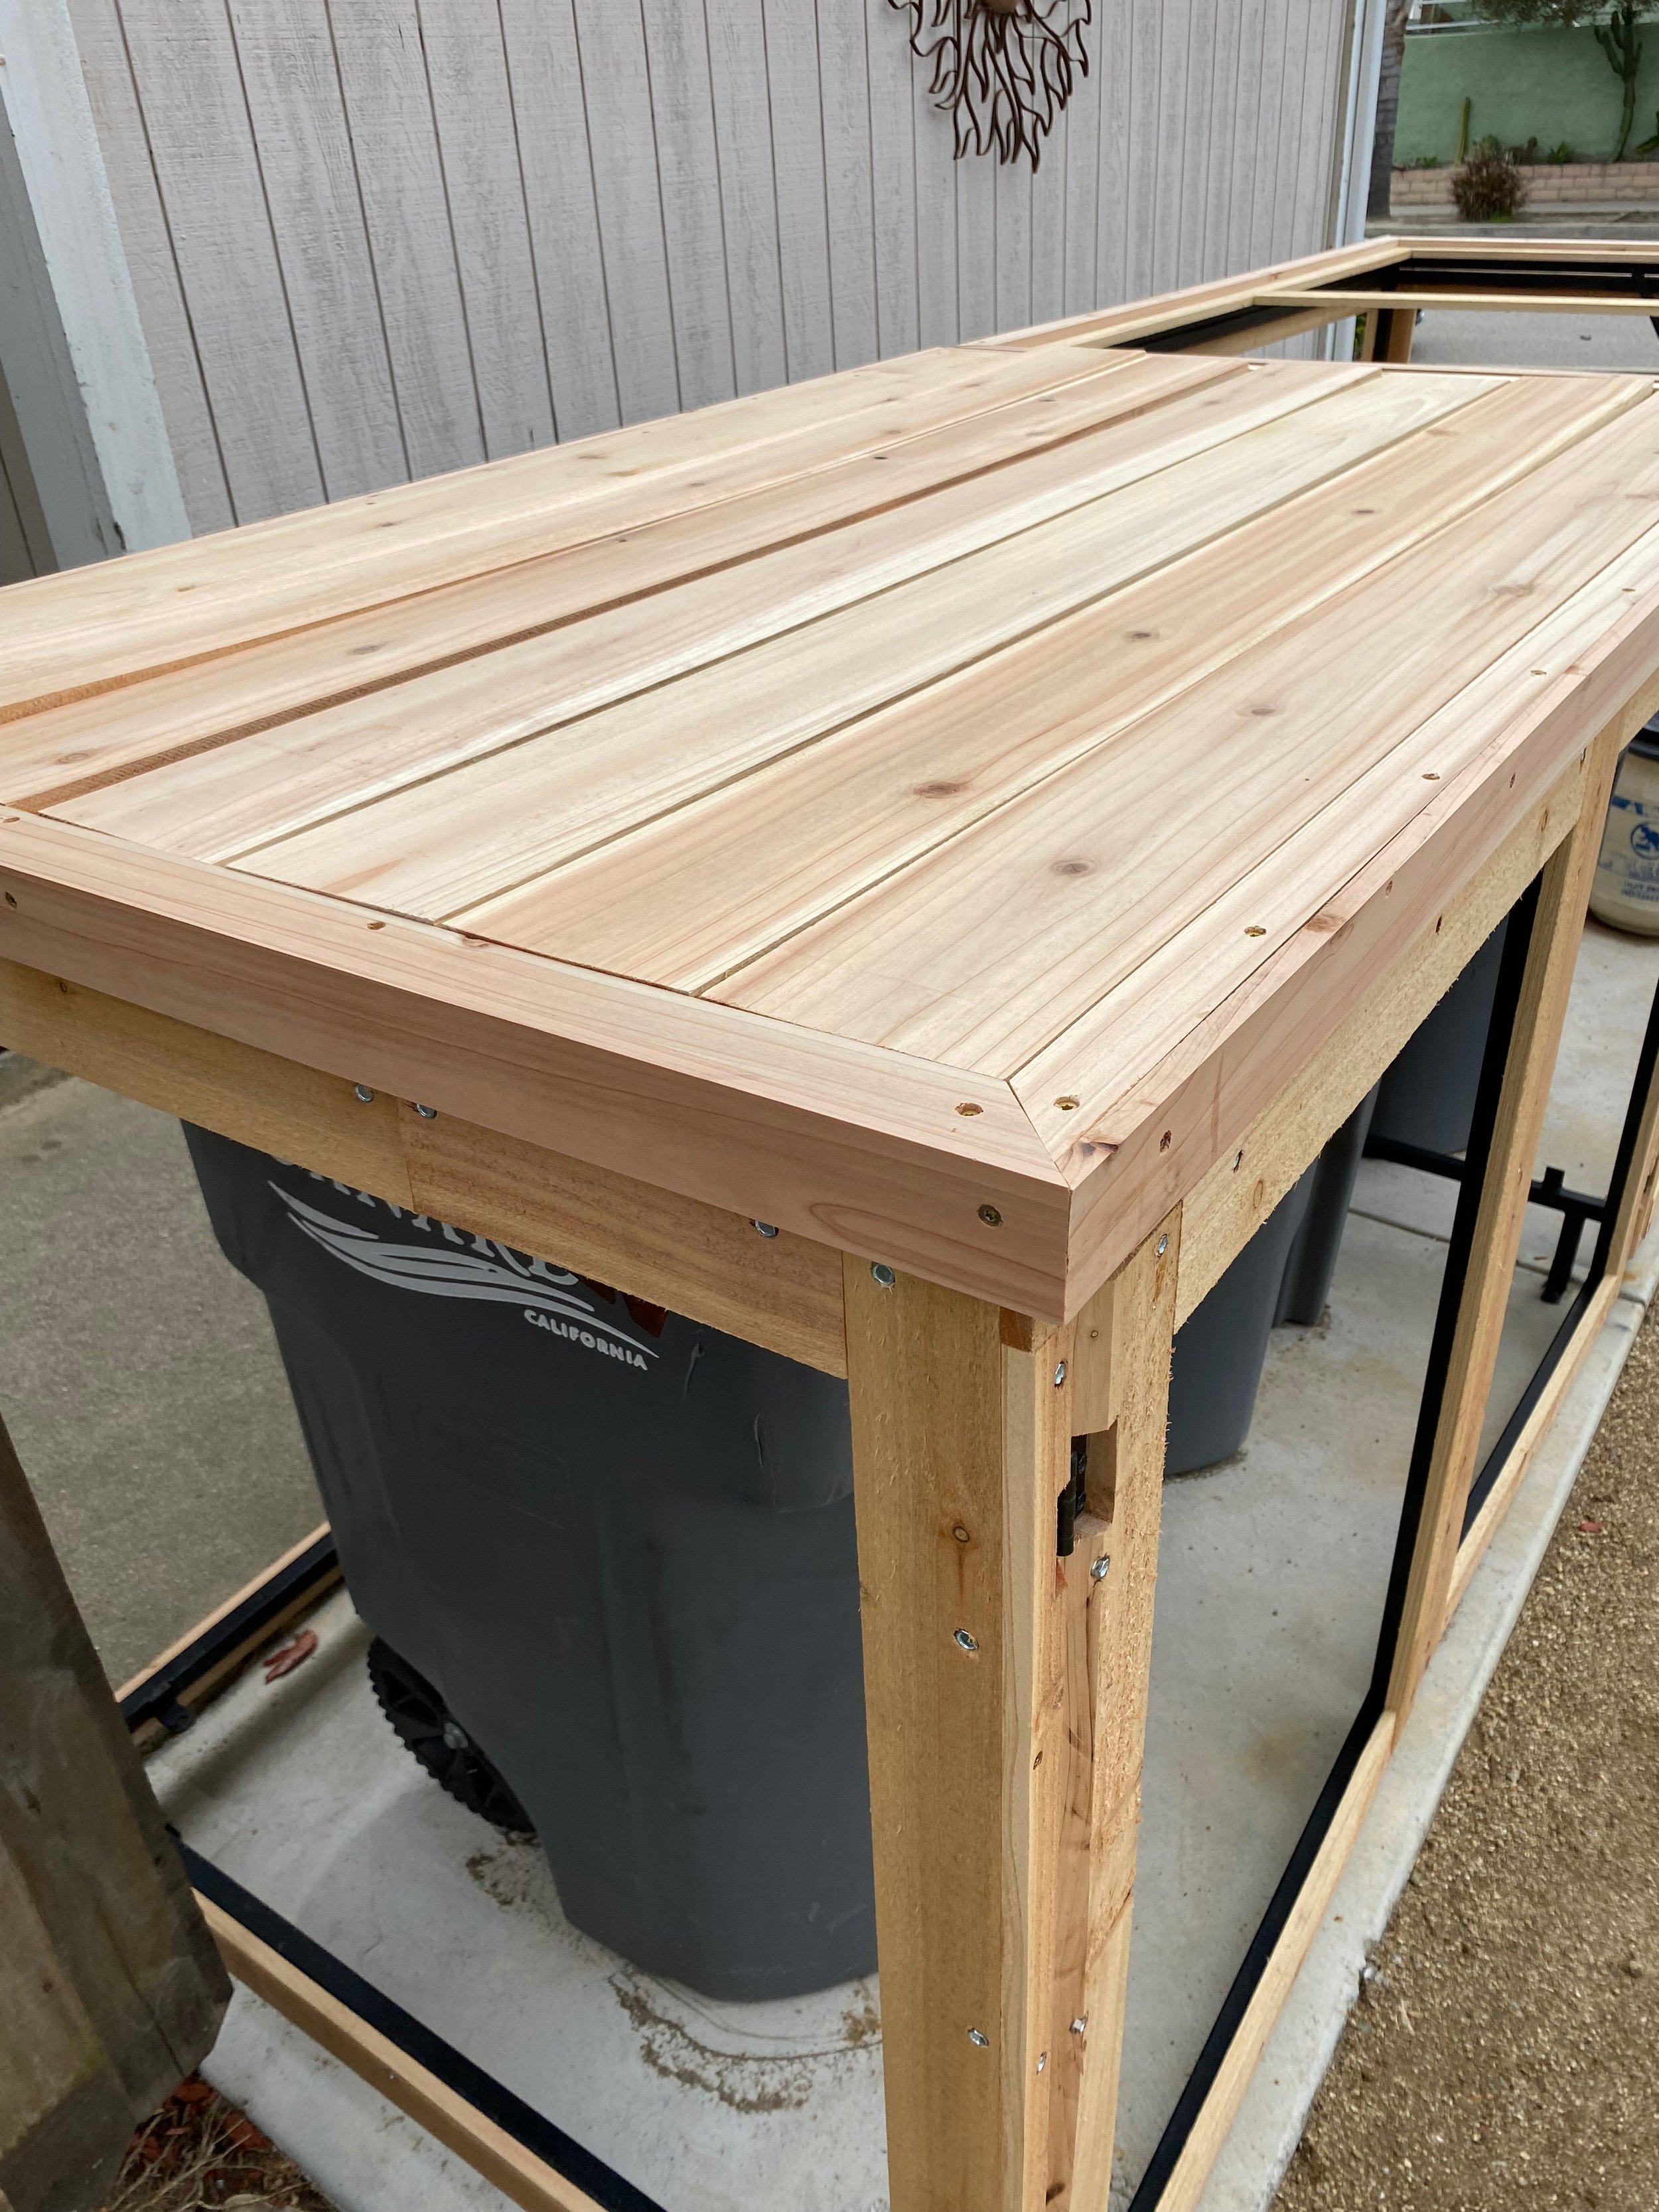
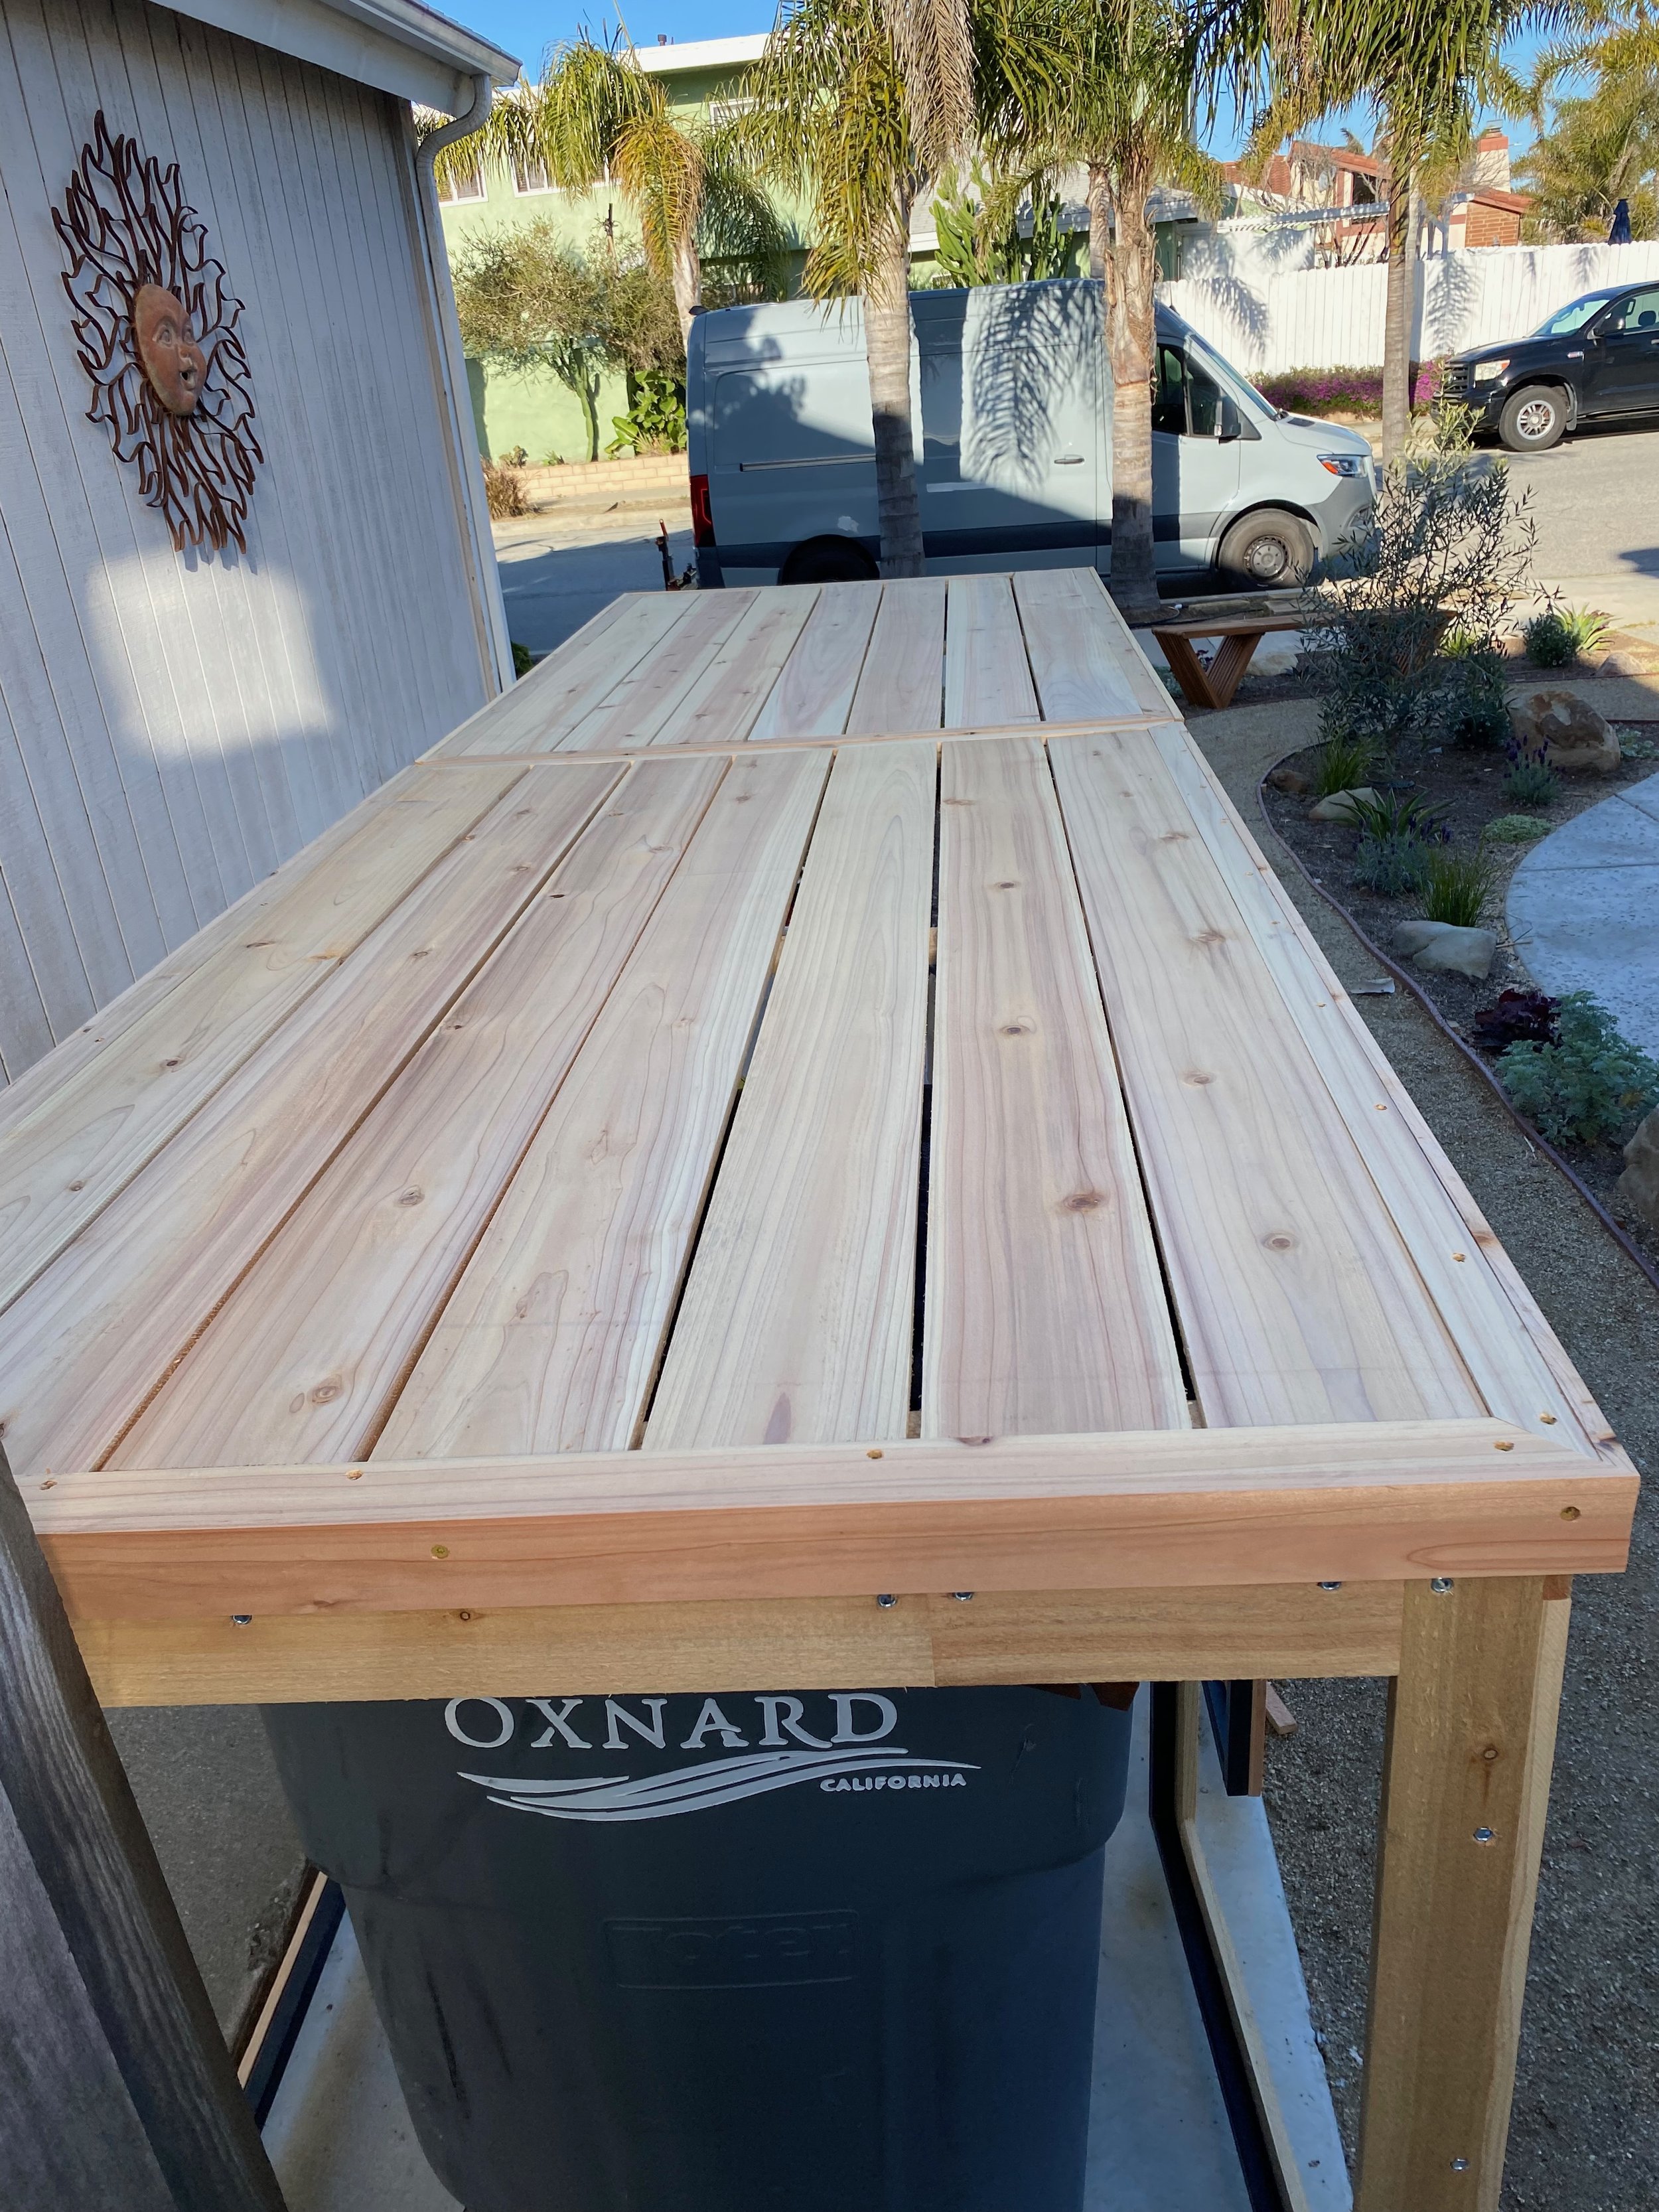
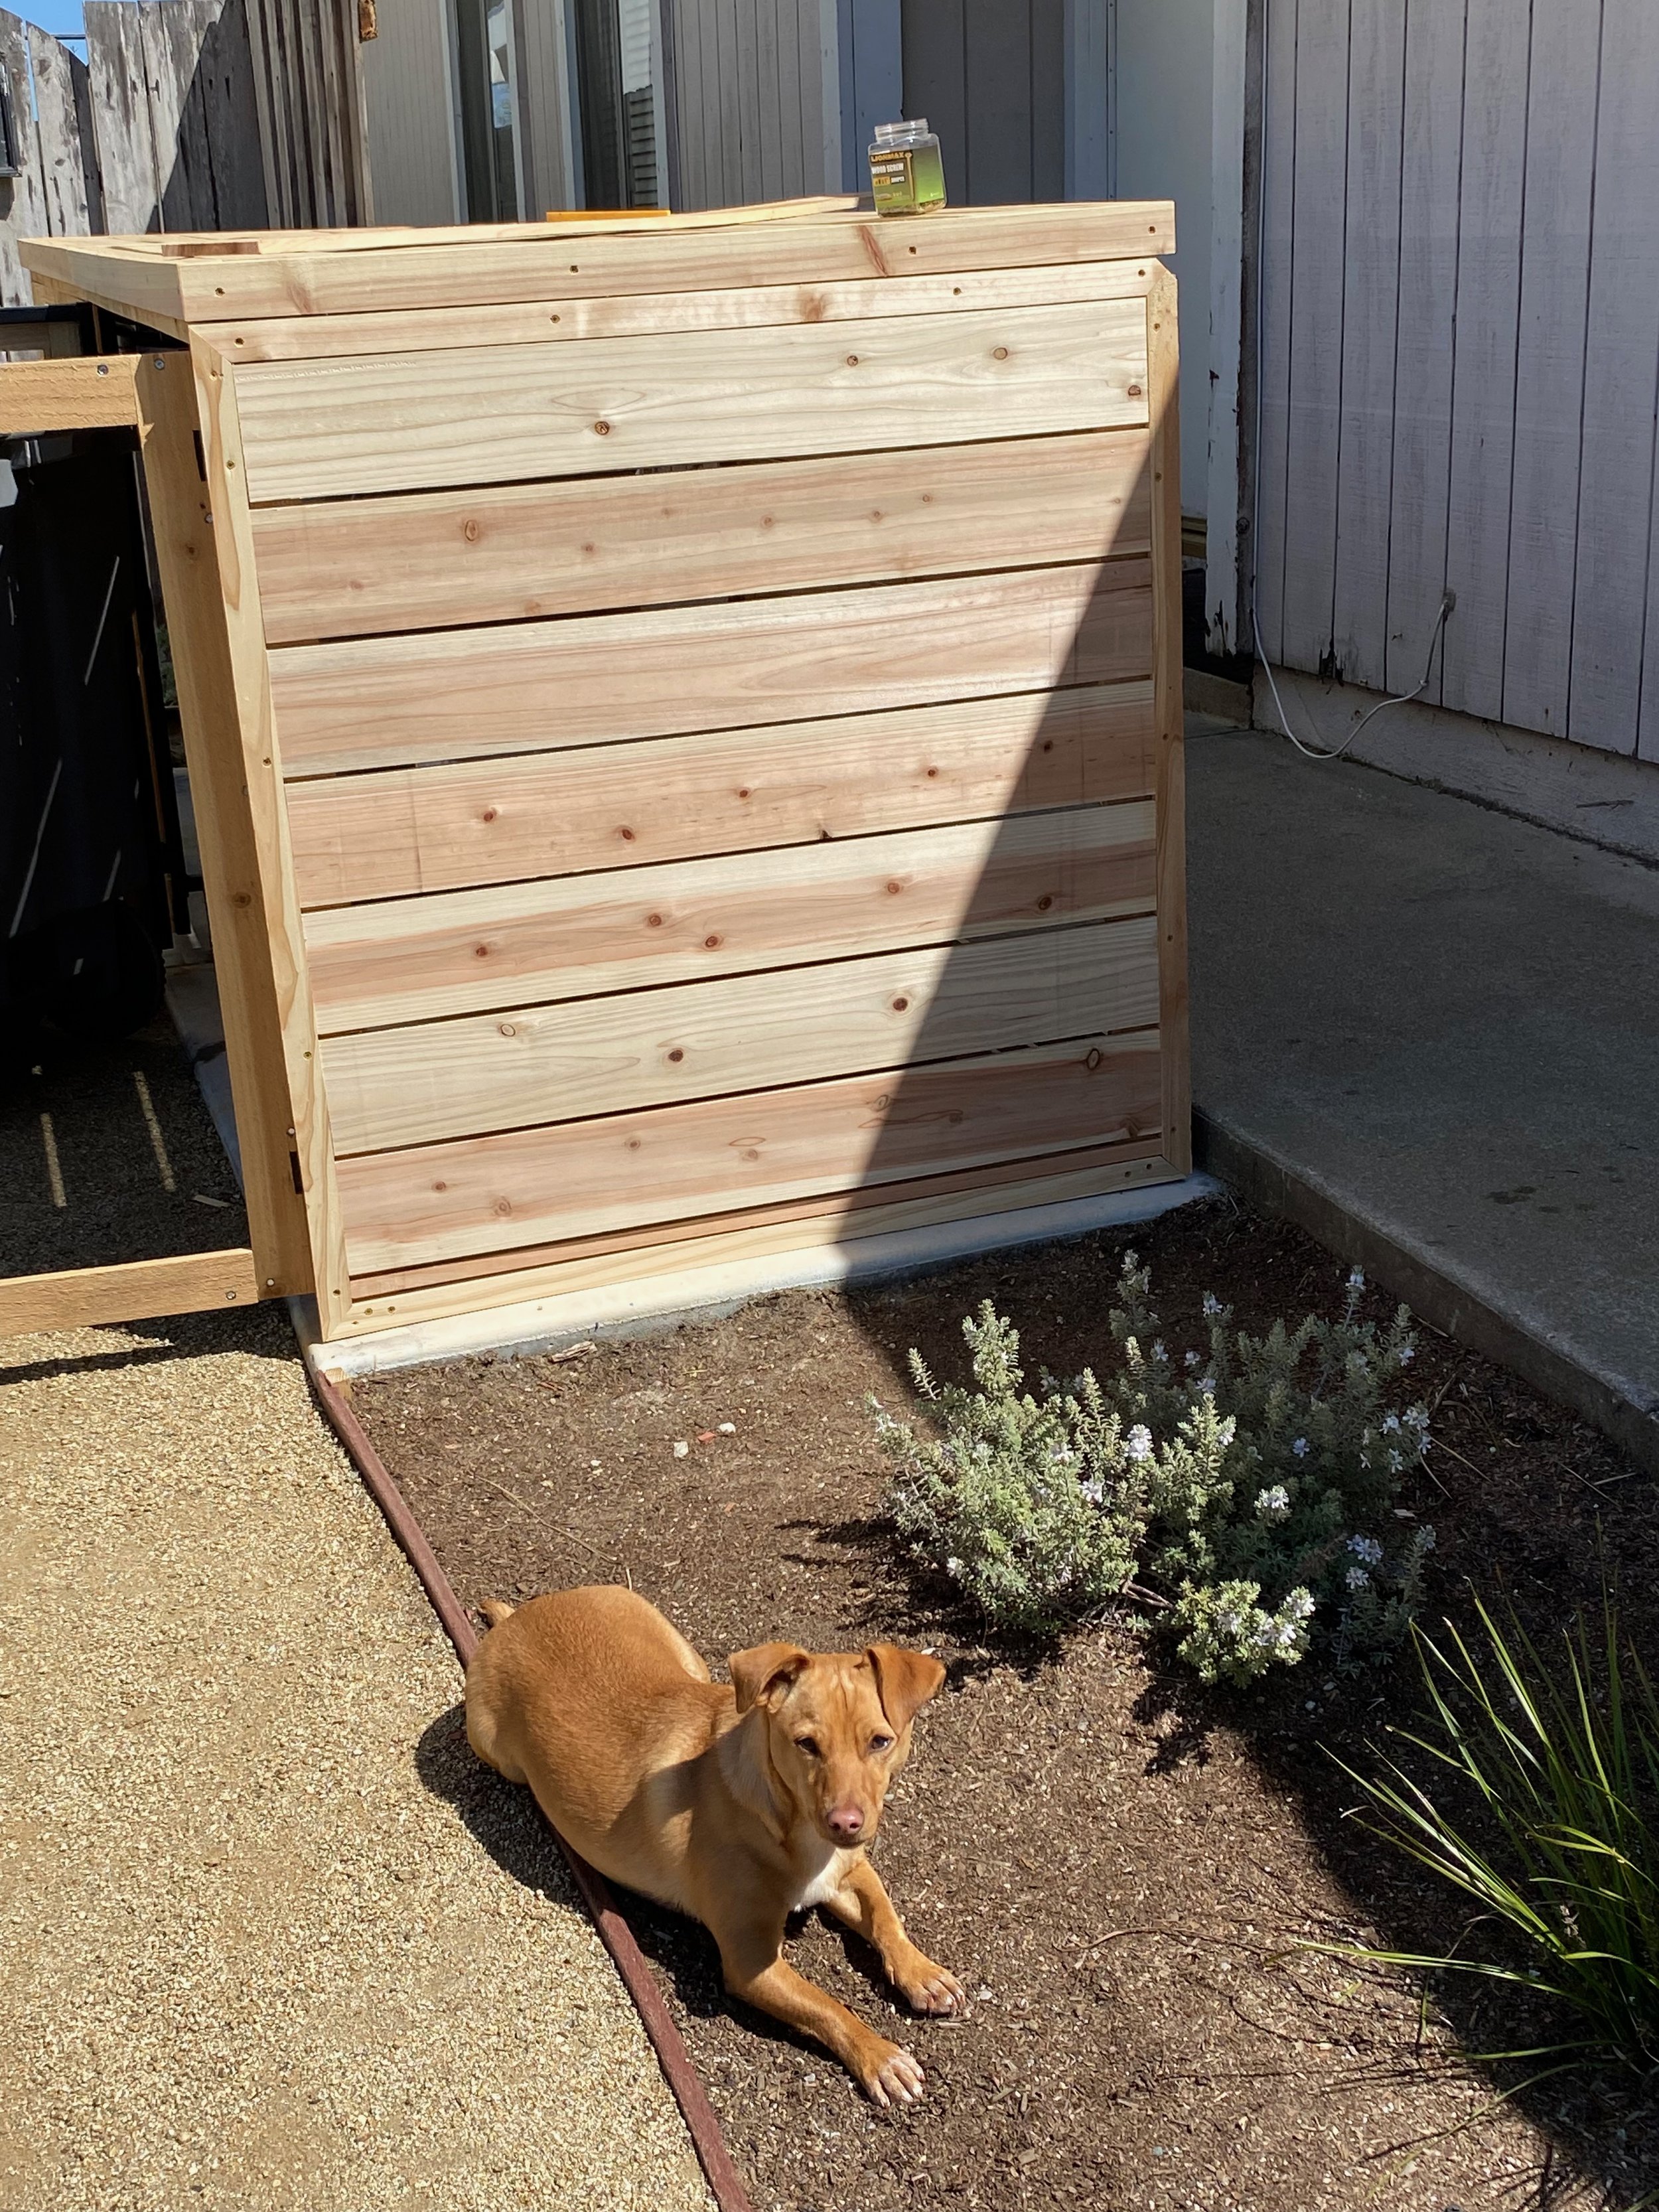
With these now smooth boards, came the really fun and math involved part! Every angle affected the other. I could have simplified my life and not mitered my corners but edge grains never stain as pretty. My border boards still required to be attached from the exterior of the board since the frame was behind them. All my slat boards though, I attached from the underside so that there would be no visible screw holes, a.k.a. less areas to fill. Regardless of which board, I used wood glue before attaching with screws to ensure a good seal. Wood out in weather, especially the damp weather we have been having, tends to warp so I wanted to do all I could to keep it from twisting after I attached it.
TIP: find or make something that is the distance between your boards that you need, to use as a spacer so that your boards are always consistently spaced. Mine ended up being a stir stick and scrap piece of thin hobby bass wood. I laughed at myself a million times for holding two separate items instead of taking 10 minutes to fashion myself something better.
I eded up needing to go grab a few more boards, which the boys always love any excuse to be able to drive around the lumber carts. Before we add the wood, they like to hang not he bars like monkeys and after, they get to sit on the wood like a bench. And always, a well-meaning man feels the need to ask me if I need them to get the wood for me, because what mom with two littles and a dog in toe could ever get their own lumber?? Ha! Very kind of them to offer to help though, of course.
With extra few boards back at home and planed smooth, I was able to finish attaching and my gosh, it felt SO GOOD to get that last board attached! It has been unusually cold here lately and spending almost two weeks of naps and miscellaneous free moments outside in the cold is not my ideal situation, for my fair weather loving self.
So close to the finish line! Last step was to stain and add hardware. I had such an internal struggle about what color to stain this. I love light wood and the cedar looked so beautiful all by itself. BBUUUUTTT… with the IPE wood railings and brown stained teak bench that I got for the yard, it just seemed like a better option to keep things cohesive this time and I found a stain to match these other two woods.
I used Behr Deck plus semi-transparent in Chocolate and ended up having a little taco and margarita party all by myself while trying to finish staining before I had to get the kids ready for bed. Not a bad way to end the day in my mind!
Add a little hardware, and voila! Never thought a trash enclosure could make me smile so much!
Many hours of work squeezed into 45 seconds of video!
As always, if you have any questions, or need any specifics, please feel free to reach out to me in any method or comment below!


