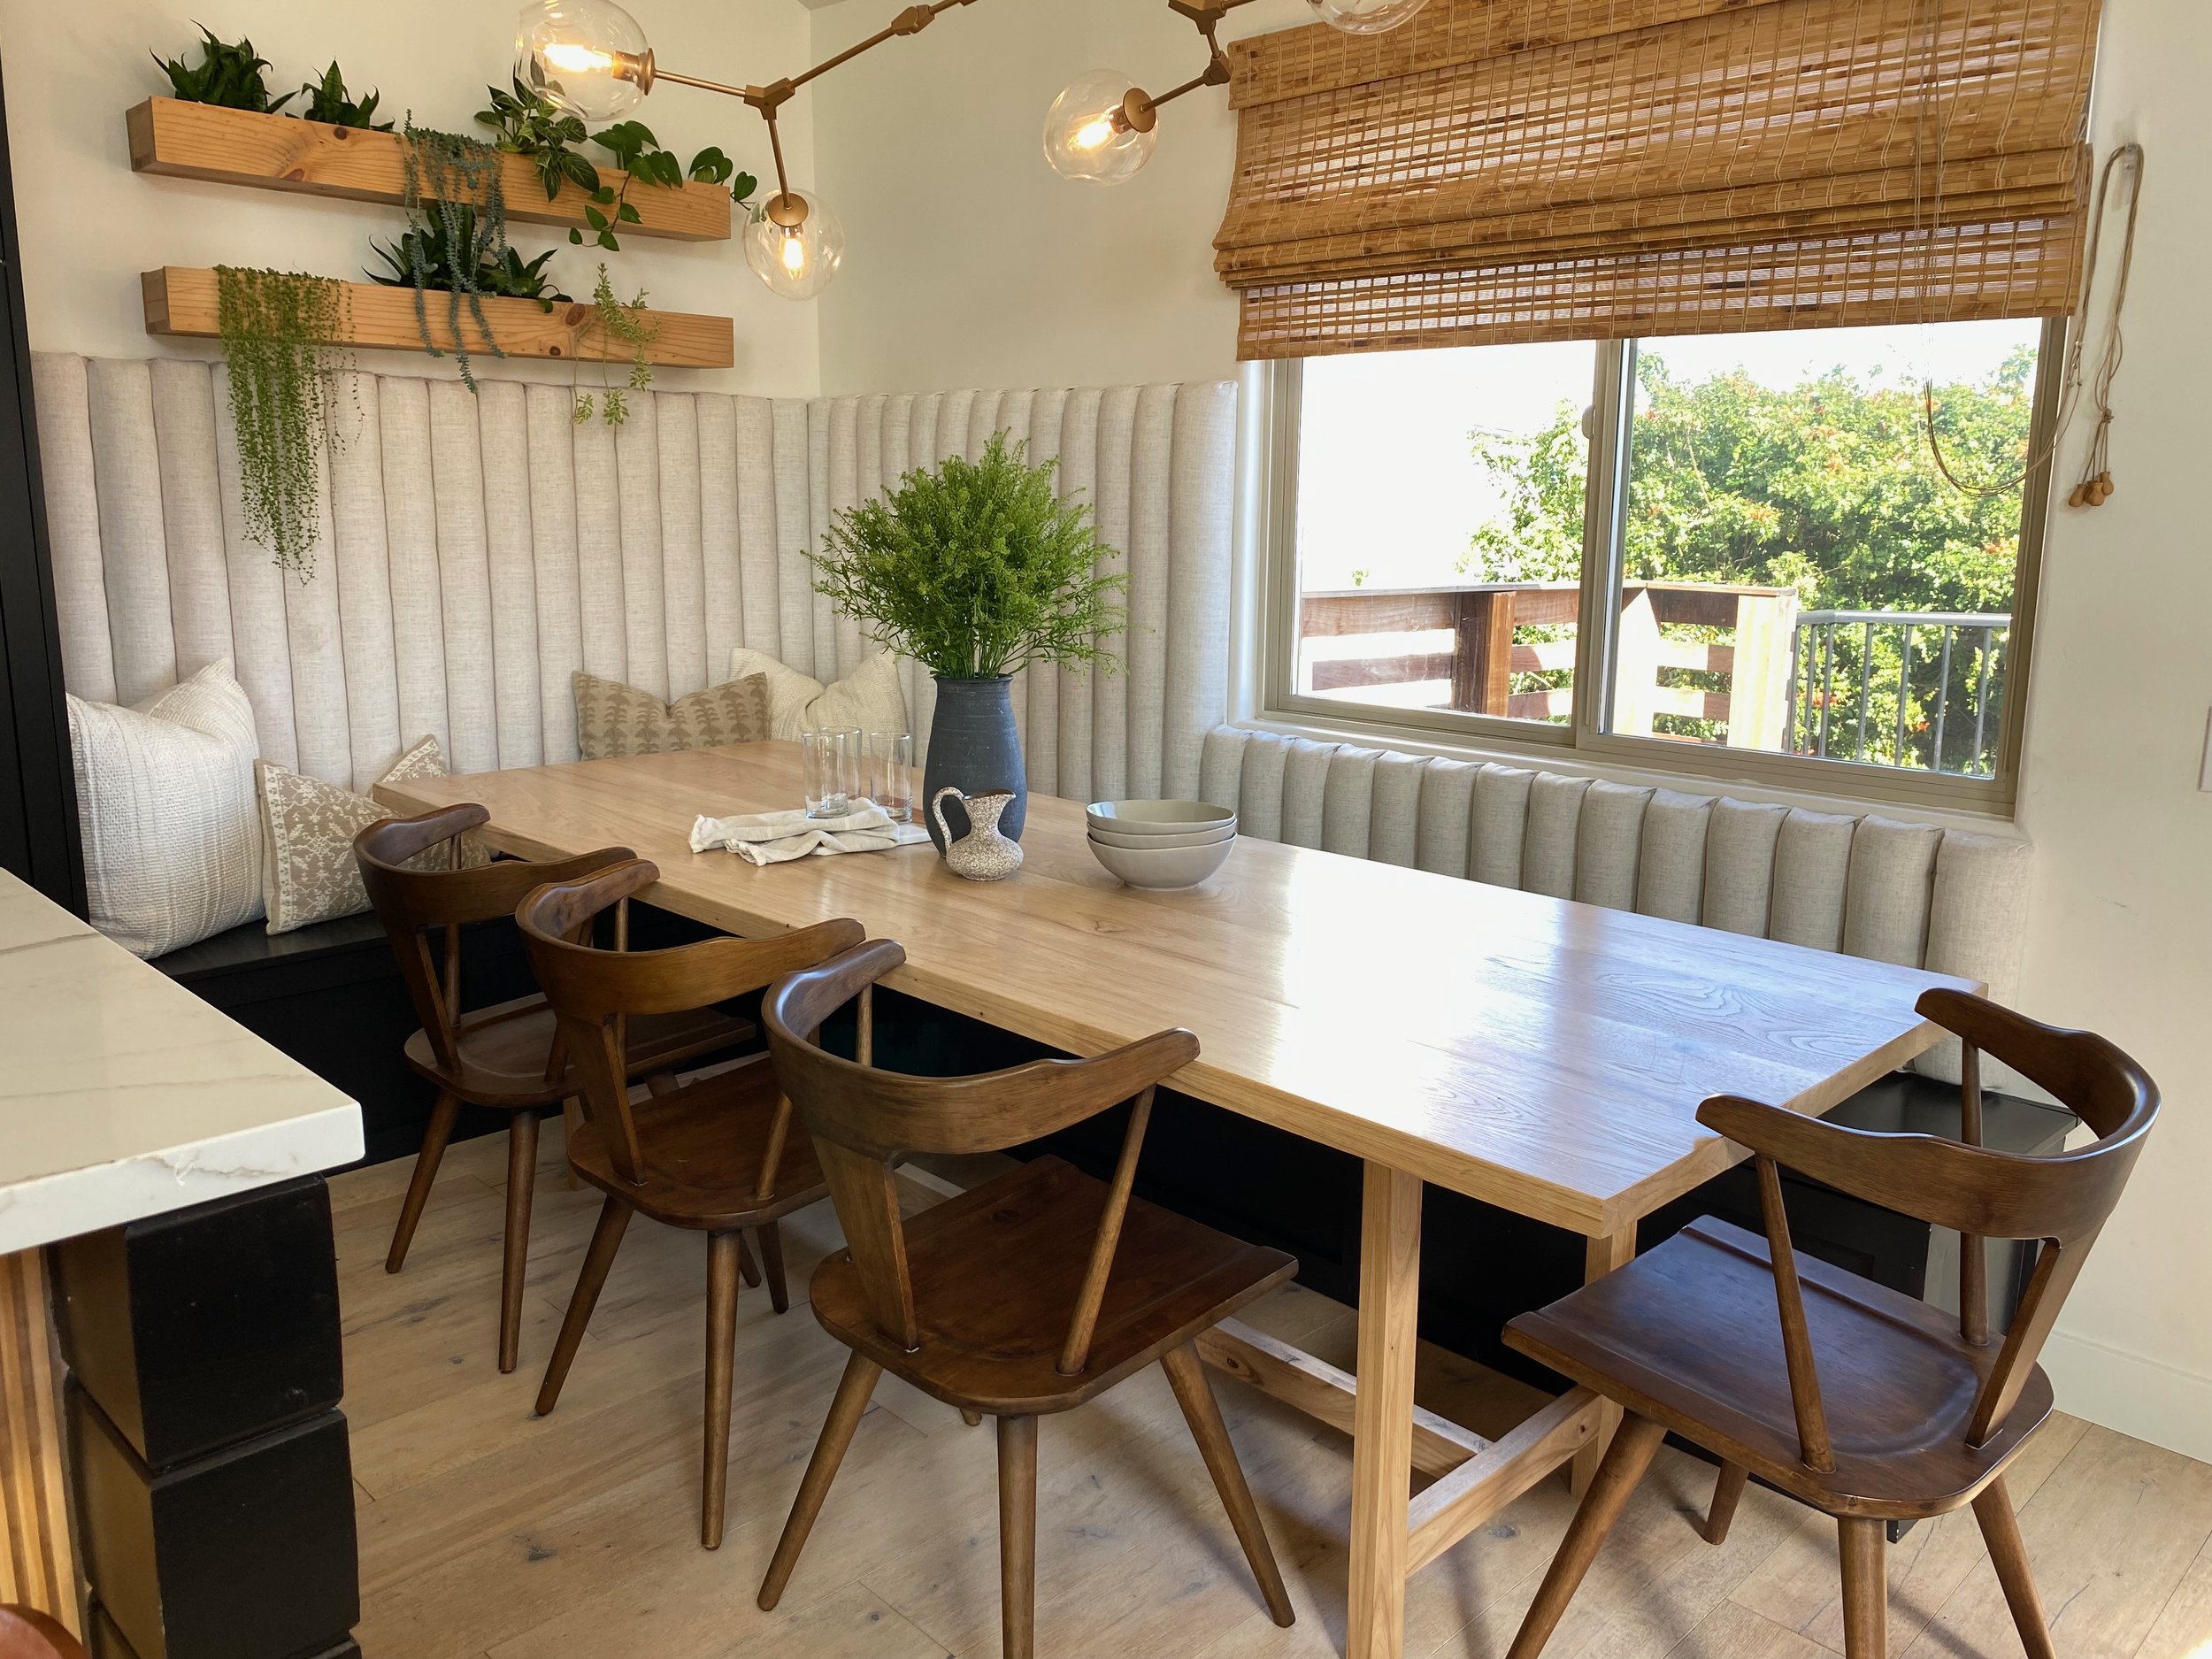
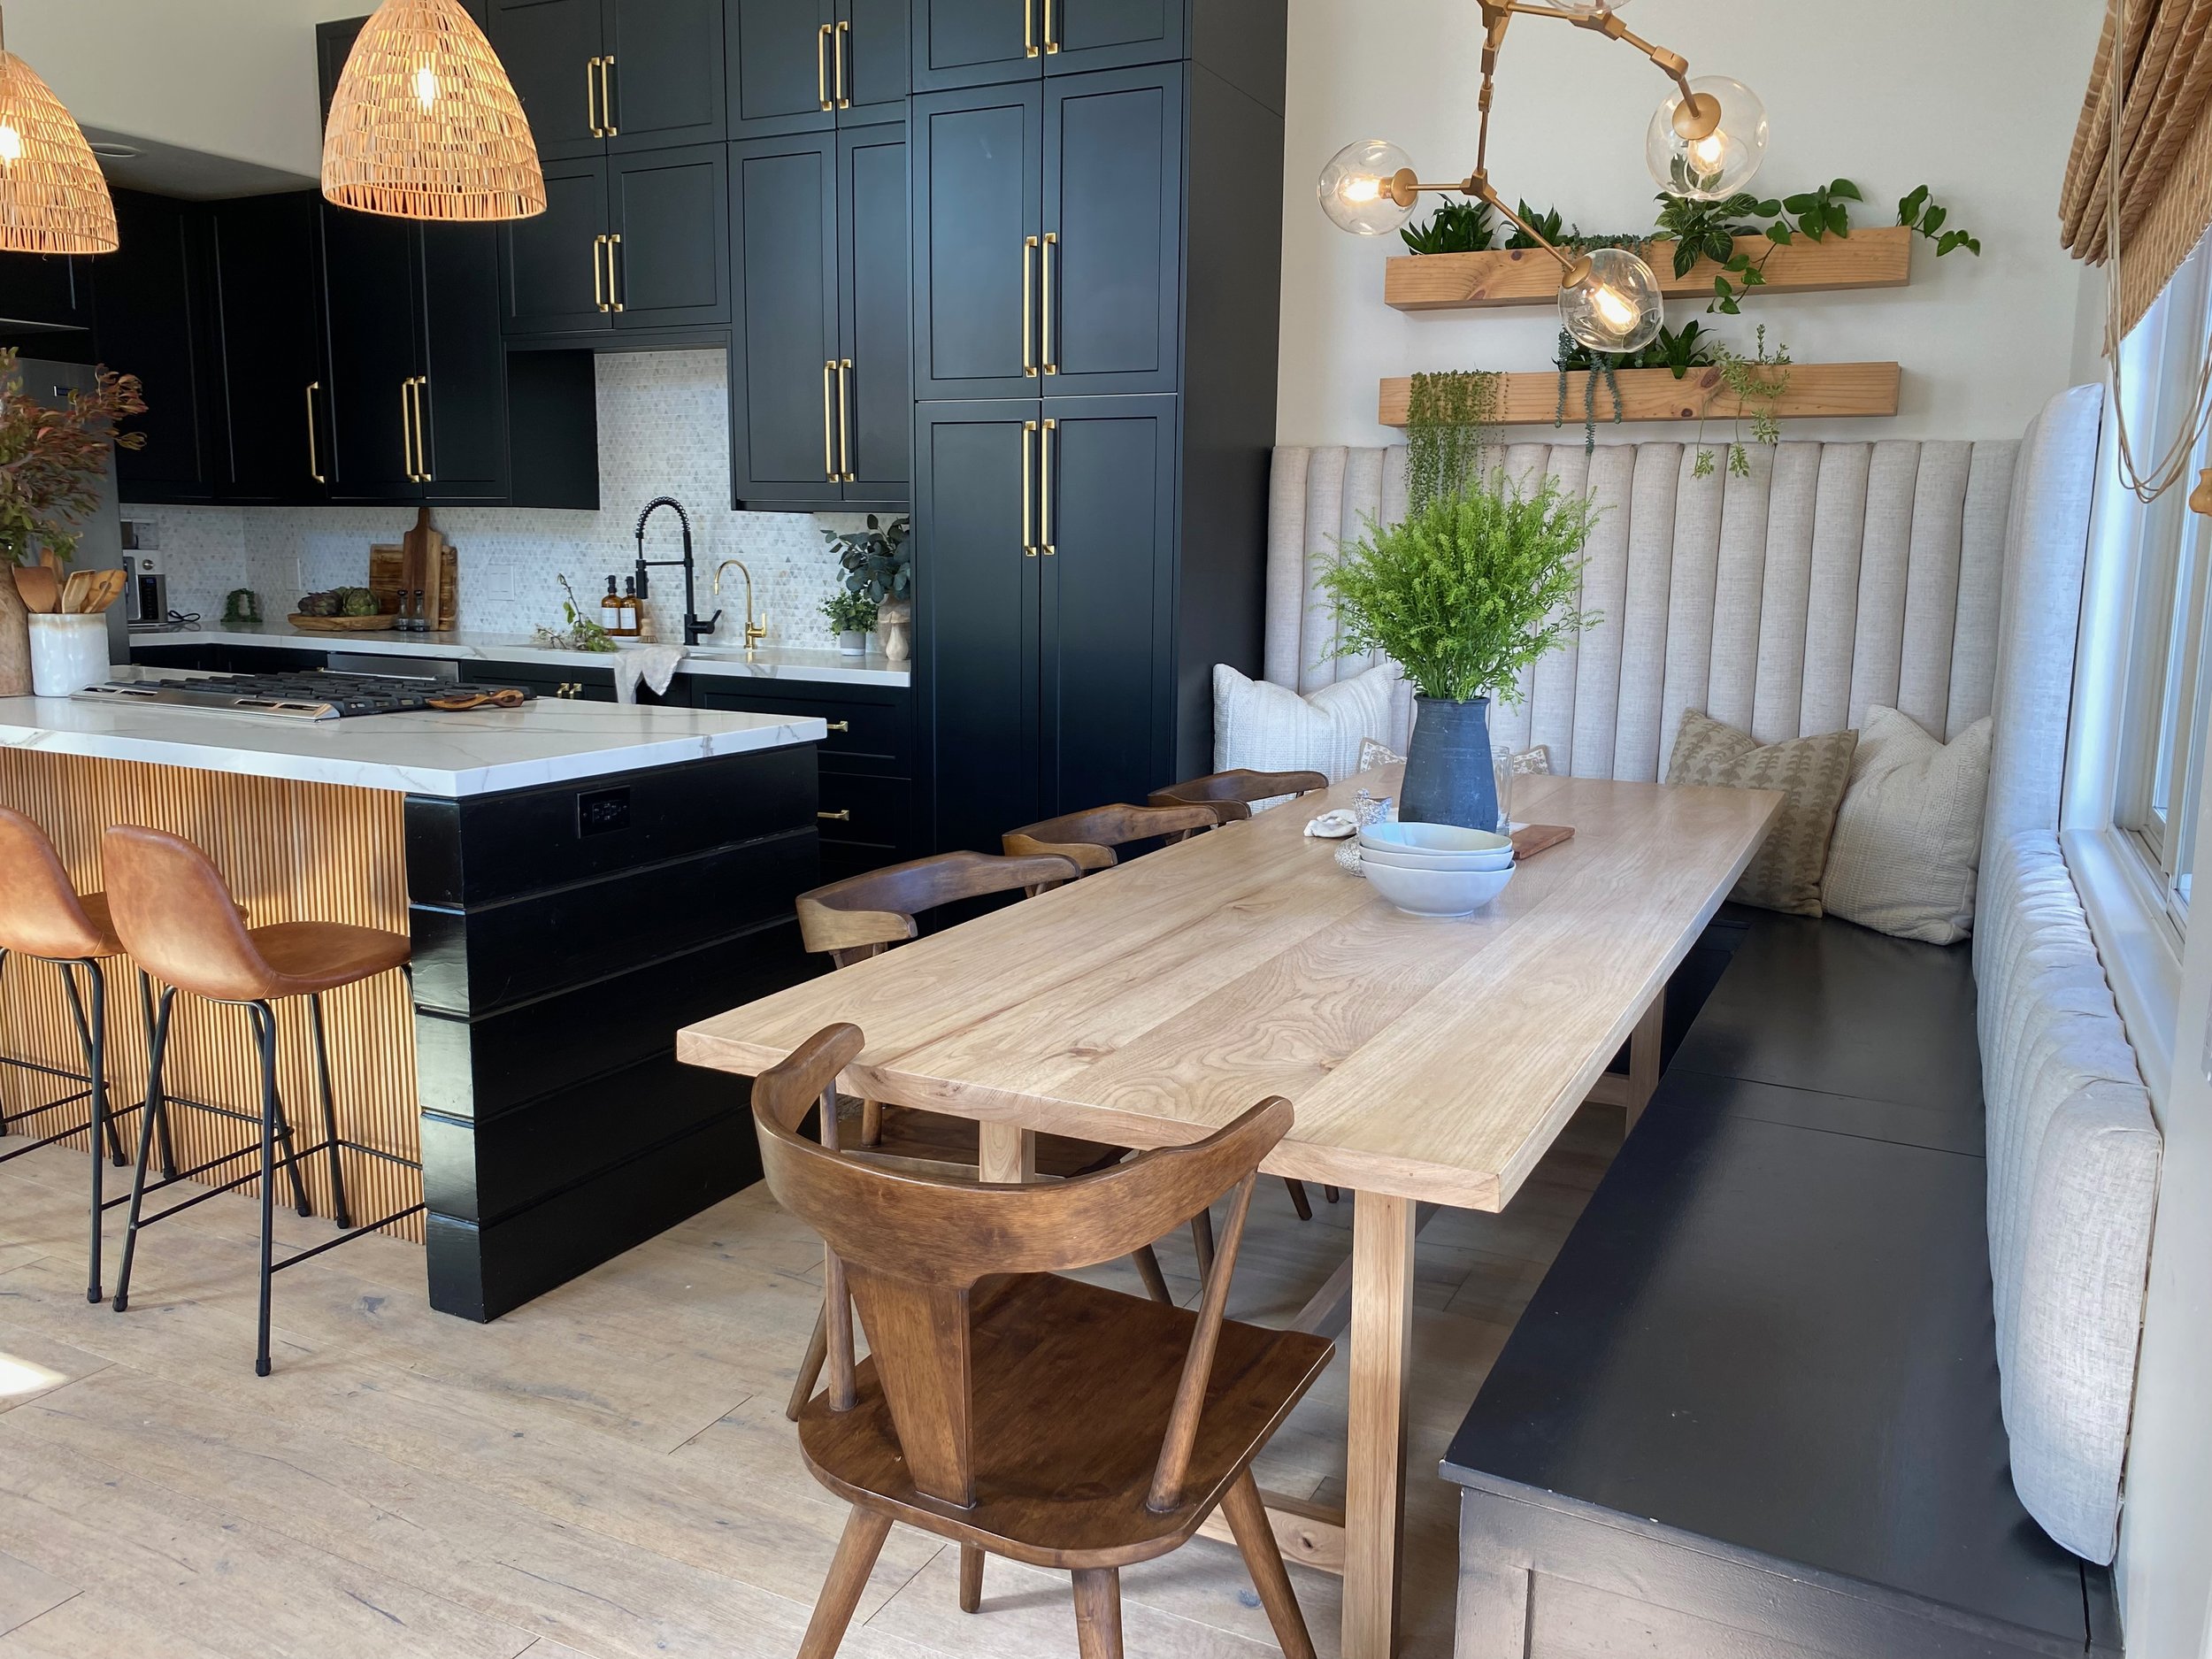
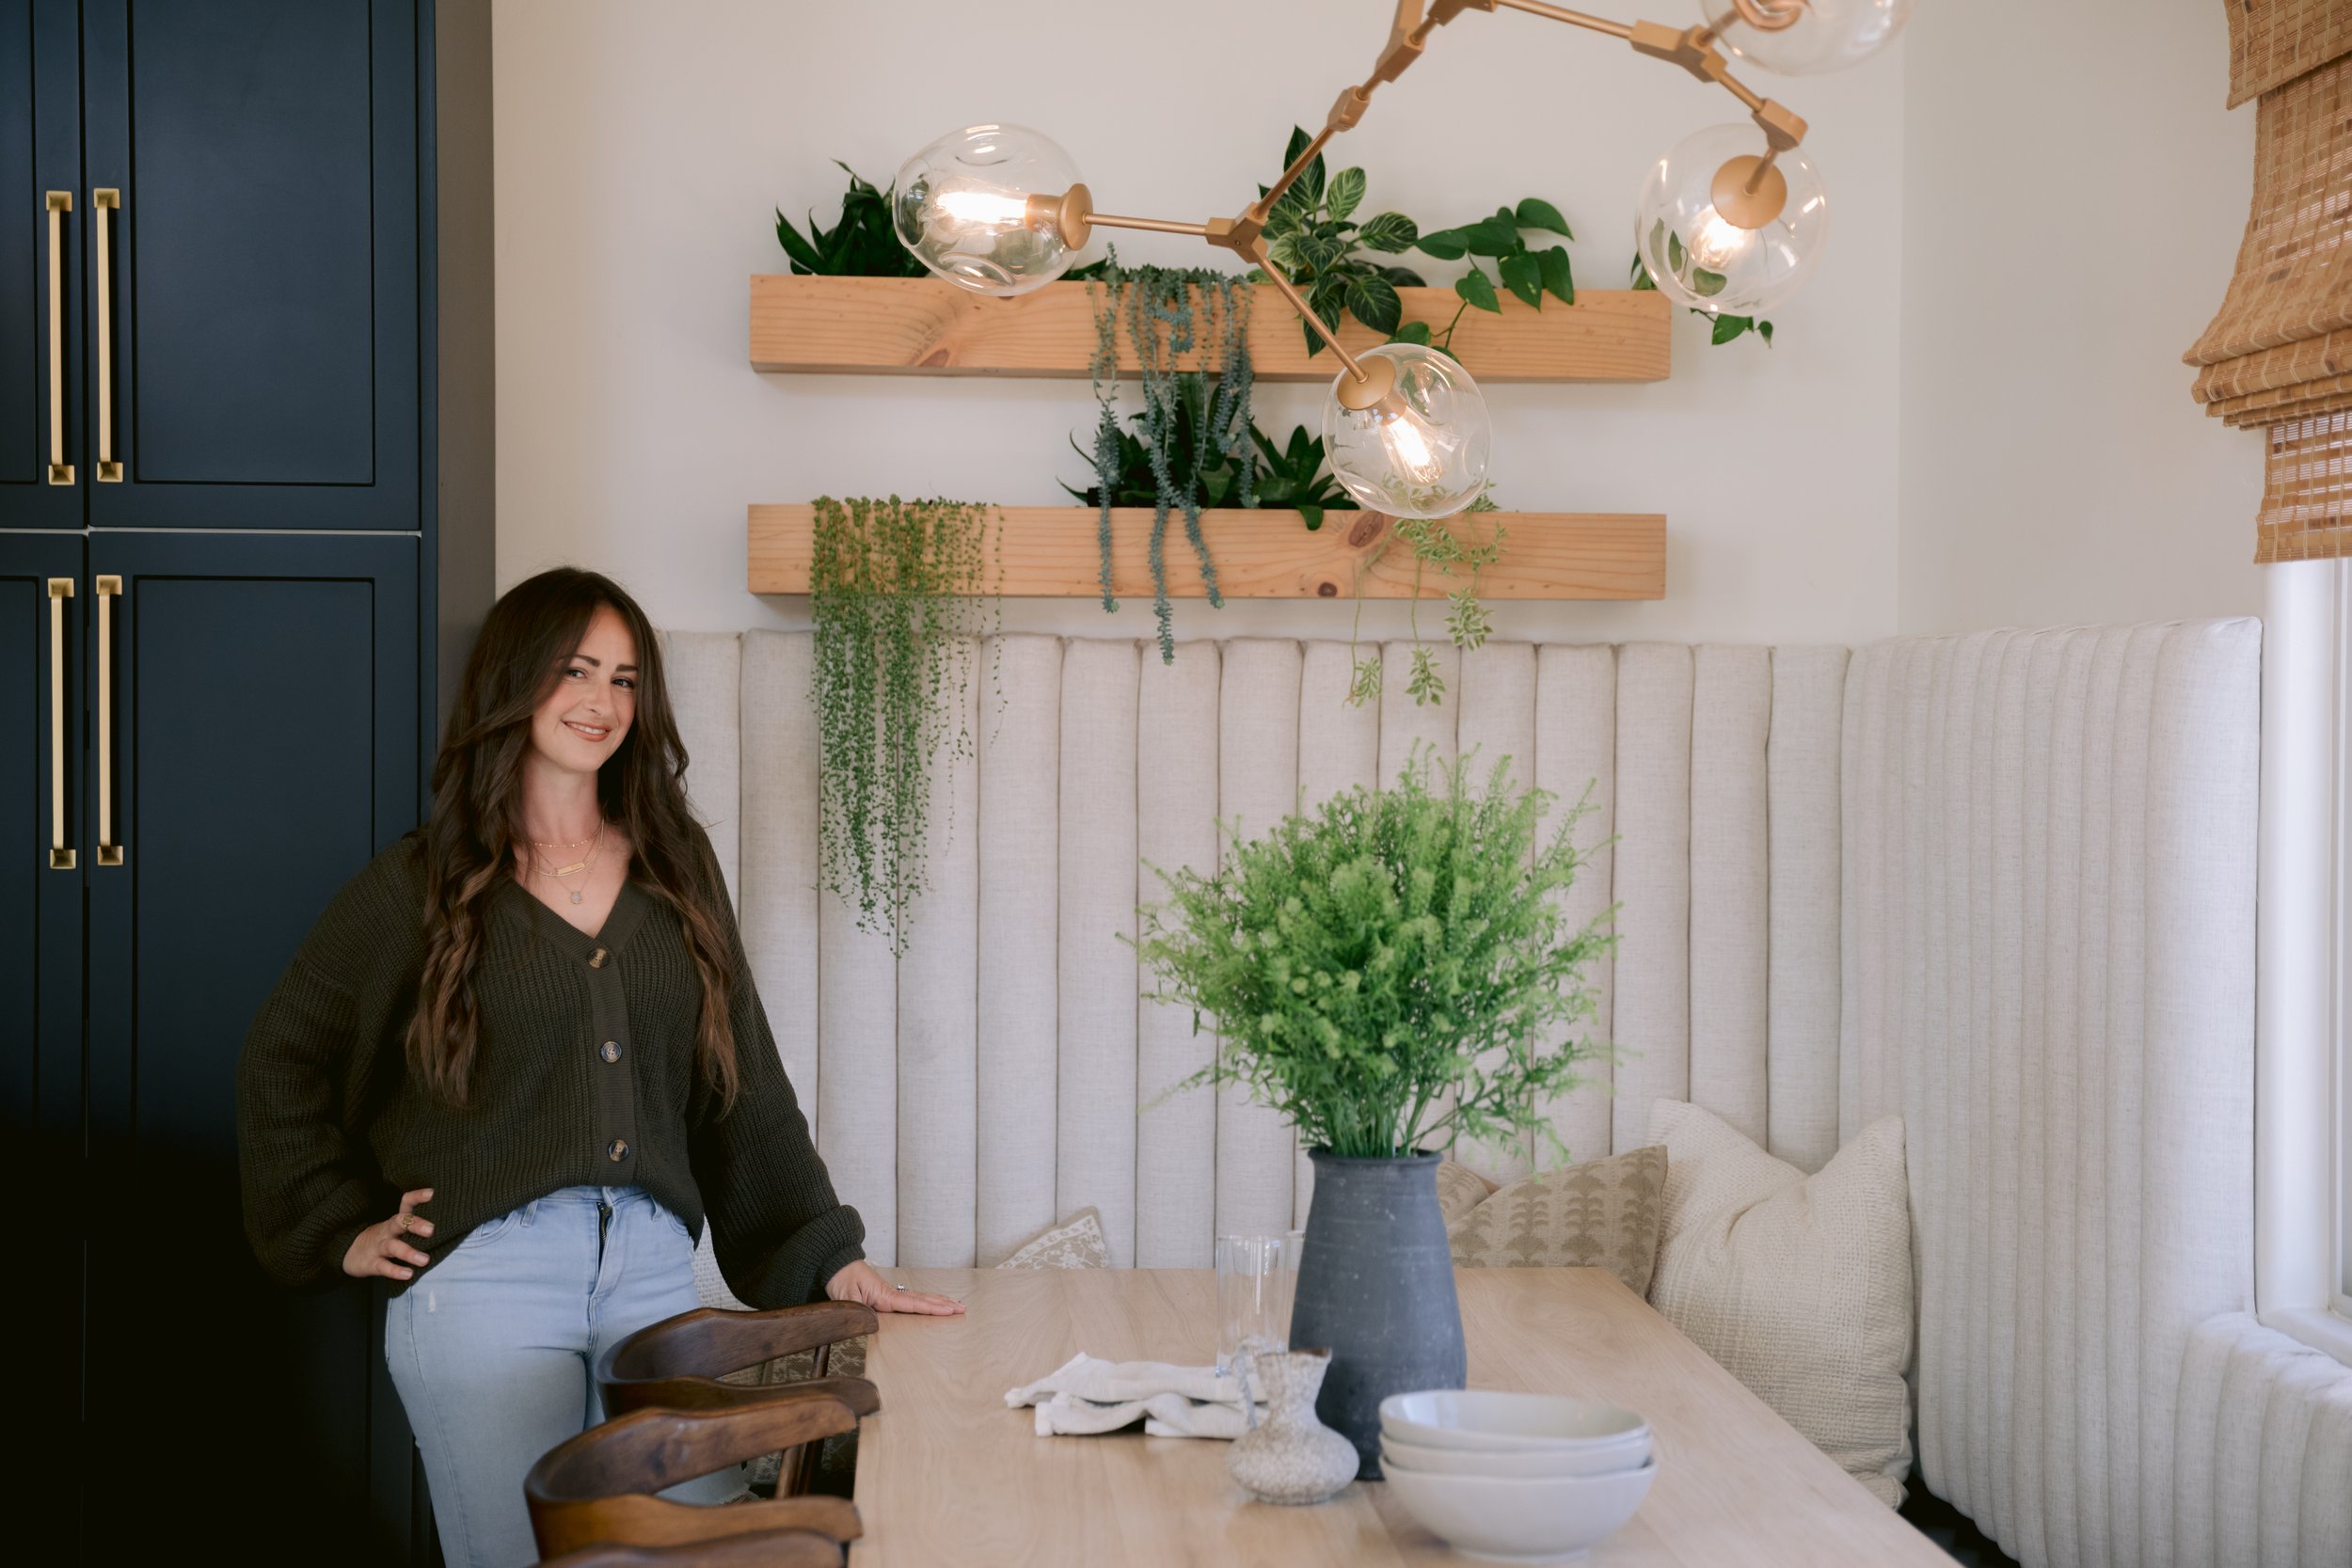
How I Used Pool Noodles for a Channel-Tufted Banquette
Pool noodles? Yes, you heard me right.. pool noodles.
A little background to this space first though before I get to the details. If you do not know about my story, we bought this house in 2018 and have slowly been remodeling the entire house which was in quite a bit of disrepair. The kitchen and flooring was one of the first things we did, but my dining area had sat empty for a bit. I always knew I wanted a banquette in the space from my original kitchen plan, but knowing you want something and having the time to execute are two very different things in my life. Finally though, after 2 years passed, I got the bench built… and then a year after that (eesh), I made up my ever changing mind that I wanted a channel tufted back.
I probably should share about how I built the actual bench first, but since so many have commented on the back, I wanted to get this to you sooner. So next post will be about the bench!
Now…. POOL NOODLES! If you have ever looked at doing your own upholstery, you know how expensive upholstery foam can be. Then if you look at the round upholstery foam, each piece ranges from $8-$32 depending on width and length that you need. With how many I needed, I felt like their had to be a less expensive way to get the look that I wanted.
Photo from Foam N’ More
Then it came to me! I remembered seeing a DIY’er use pool noodles for something that now I can’t find and for the life of me, I can’t remember what project they were working on, but nonetheless, something about the idea implanted in my brain. So I looked around for a pool noodle that was wide enough because I didn’t super skinny channels. I found some bigger ones at Lowes so off I went! Let me tell you, the looks and comments that I got while walking through Lowes with so many noodles… so funny!! One lady even went of her way while I was checking out to ask what I could possibly be doing with so many. Once I explained, she was so sweet and told my kids that their mom was a genius. I always love interactions with people who choose to support and build up others.
There were a couple of things I had to figure out though to make these work. I was worried about the hole in the middle making them too squishy and that over time, they would sag in and the fabric would look wrinkled. Also, with the full round shape, how was I going to keep them from sliding around? I just cut them in half, that would have kept them from sliding, but would not have provided any stability for the cavity. I landed on cutting out a strip that I could insert back in. That sounds confusing, but the pictures should explain what I mean.
I first cut them down to the length that I wanted, then marked my lines and used a box cutter to cut down the length of it. I tried to get it as straight as I could but didn’t obsess over getting it perfect since it wasn’t actually going to show.
Now with my “bolsters” obtained, I needed to get my other materials. Here is my materials list:
1/2” Plywood (I got mine from Home Depot)
Batting (I got mine from JoAnn) (You can ask someone that works there which batting is best for you, or message me and I can help you out)
Upholstery Fabric (Also from JoAnn) (Make sure that you calculate this and the batting to include the height of the noodle. For me, I needed around 9” of fabric for every noodle. Don’t just get enough fabric or batting to cover the exact length).
Spray Adhesive (Make sure you do this outside or in a well ventilated area!)
Electric Staple Gun (Do not try to do this with a manual staple gun unless you are doing something very small - your hand will thank me! You can rent these from Home Depot if you aren’t ready to invest in buying one.)
Staples (I used 3500 for my scale of project)
Speed Square, Drywall T-Square or some sort of tool to help you draw a straight line at a 90-degree angle on your plywood.
INSTRUCTIONS:
1. Cut your plywood to you desired space. Keep in mind that your fabric will add some when you wrap the edges, so if you are installing in an exact space, don’t forget to account for it. Also, make sure you calculate your width of your project based upon your noodles. For example, it your noodle width after cutting plus your batting is around 4.5”, and you were to make your project width 48”, you would end up with 10 noodles and and extra width of 3” that a noodle can’t fit into. So make sure you do a little math before you start cutting your wood.
2. Cut your pool noodles per the instructions above.
3. Cut your batting wide enough and at the length to cover your noodles. My batting pile got hijacked as a bed.
4. This step you can either do all at once or as you go, but I opted to do it all at once. Using your spray foam, attach your batting to your pool noodles. The batting should wrap from cut edge to cut edge, but it does not need to wrap underneath.
5. On your plywood, measure the gap for your noodles. There are a number of factors to consider here: The width of your noodles plus the thickness of your batting and your overall width (since you don’t want to end up with half of a noodle distance at the end). Once you know your distance (mine was 4.25”), measure that along the width of your plywood. This is in preparation for the tack strips.
6. Apply your tack strips using your staples along your drawn line. Always put your tack strip on the same side of your line. I put mine to the right. You can choose to install all your strips at once or install as you go. These strips are there to help you staple in a straight line once you have your fabric on. So make sure that you have enough staples in this that it doesn’t slide around at all.
7. With your fabric, you can either opt to cut strips like we did for the batting, or you can use your fabric as a whole. I went with using it as a whole to save myself cutting time, but it was a lot to ensure that the fabric didn’t start going at an angle and that it stayed smooth. Once you have your fabric ready to go, wrap your edge and staple your fabric along the back edge. Make sure that you are pulling your fabric tight as you staple, otherwise you will get creases or sags in your fabric.
8. Once you get the back stapled, get one of your batten-covered noodles and place it in your first spot. You can either hold this in place as you go, or use your spray adhesive to attach it. Place your fabric over the noodle and make sure it is smooth and straight. Find the edge of the tack strip that is closest to your noodle with the tip of your staple gun. Place your first staple and then pull your fabric at a diagonal away from that first staple, as you continue along the tack strip with your staples. There will still be some rippling in your fabric until you attach the ends, so don’t worry about minimal rippling yet.
9. Once you have all your staples done for that row, fold your fabric back over the noodle you just covered (or place a new strip upside down over the last noodle). Place another tack strip in line with the lower strip, on top of the two fabrics. This second tack strip helps keep your edge crisp. Staple this one down.
10. Continue with this pattern until all of your noodles have been placed. Your last piece should be wrapped to the back of your plywood to cover the edge.
11. Now it is time to wrap your top and bottom edges (or if you are going horizontal tufting, then your ends). Take your time on this step and really figure out how you want to fold your fabric to get a consistent look on all your ends. For me, I found that cutting my batting as it touched the plywood rather than letting it wrap to the back, and then cutting slits in the fabric between each noodle, made it easiest to wrap it cleanly to the underside. Pull your fabric tight as you can while you pull under to staple it down on the back.
12. Once you are done with that, you are done making it! Then just time to install! For me, I used construction adhesive on the back and then used my nail gun to secure it tight to the wall. I went between the noodles and shot a couple nails at opposite angles.
And just like that, you are done! This has added so much to our dining space: comfort, texture, appeal, and a great conversation with guests. Just expect your fingers to be a bit sore from pulling your fabric tight for a bit!


I hope you enjoyed this! If you make one for yourself, go to my instagram (@oak.and.olivedesign) and tag me in a picture of your work so that I can see! As always, comment below if you have any questions or comments!


